Campaigns in Deployteq help you to automate your marketing strategy. You only have to configure the right moments, actions, and content in the e-mail and test it carefully, and your customers will be sent the right message at the right time. You can also ensure that a selection of customers receive specific data automatically, that an export or e-mail is sent to your colleagues at the right time, or that customers can sign up for a particular campaign. We want to enable you to create automatic flows as flexibly as possible. Our Campaign Designer therefore offers a great number of options and is fairly extensive. We will help you get started with some simple explanations about the basics.
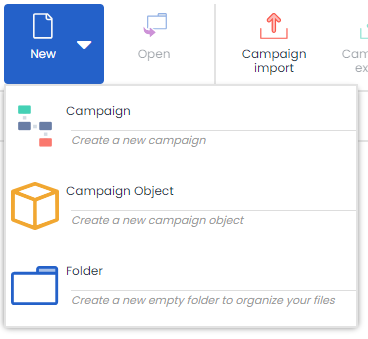
To create a new campaign, click on ‘Add campaign’.
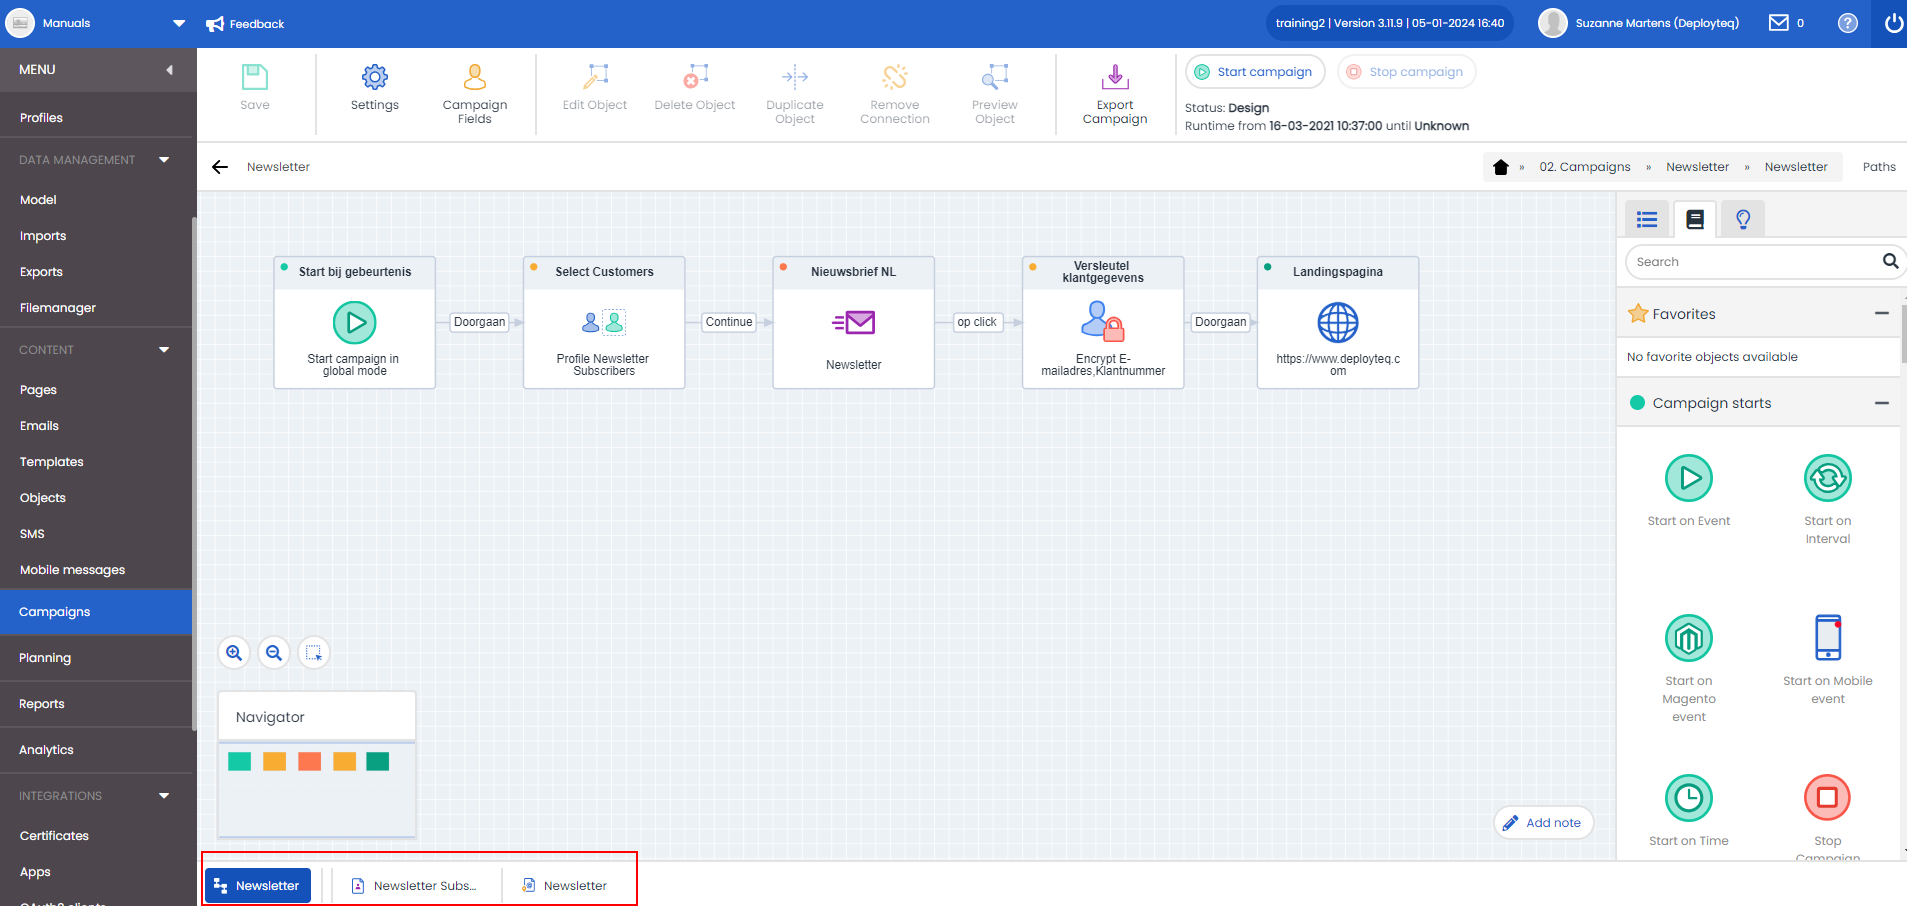
A pop-up box will appear containing the campaign settings. Enter or modify the following settings:
- The name of the campaign. Enter a unique name that describes what the campaign does so that you and your colleagues can easily find it again
- Specify what type of campaign it is. The standard campaign is used most often, but if you want to create a standard bounce or unsubscribe campaign for your brand, you can specify that here
- Start date and time. This is set to the current date and time by default but you could also configure a time in the future. You can also change this later in the campaign
- Optional end date and time. This stops the entire flow which means that timers and landing pages will no longer work
- End URL is the landing page that customers will see if the campaign has stopped when they click on a link to a page object
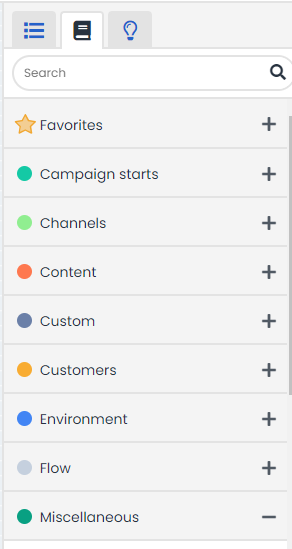
Objects library
You start your campaign with a blank canvas. On the right you will see the library containing all objects with their own individual functions. Design your campaign by dragging and dropping various objects onto your worksheet.
Once you have placed a number of objects on your canvas, you will want to connect them in order to create the path for your customer. Each object has its own exits based on what the customer does or does not do. You can create multiple branches in the campaign to guide the customer into a particular flow depending on their specific actions.
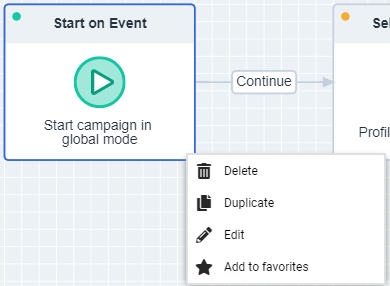
Frequently used campaign objects can be added to the ‘Favourites’ menu so that they can easily be selected again the next time. These are saved with the settings. If there is a condition that you use a lot, for instance, make sure you have already added it before you mark the object as a favourite. To add an object to your favourites, hover your mouse over the object and you will see an arrow appear in the bottom right. When you click on the arrow, a menu will appear containing the option to add the object to your favourites.
Navigation
It may sometimes be more difficult with large campaigns to navigate to the correct place on your canvas. We have therefore created a small navigation window in the bottom left that shows you at a glance where the flows are and which you can use to go to the right place on your canvas. Scroll with your mouse to zoom in and out in your campaign or click on the ‘+’ or ‘-’ sign. This allows you to maintain a good overview of your campaign, even when it consists of many objects.
At the bottom of your screen are all the profiles, e-mails, and landing pages that you are using in your campaign. If you want to make changes to an e-mail, without losing sight of the entire campaign, navigate using these buttons. From the e-mail you can then return to the campaign or move on to the following e-mail using the same navigation buttons.
Creating campaign fields
If you want to save extra information with the customer, such as when a specific e-mail was sent, details that your customer entered, or that the customer completed a specific step, you can, of course, use customer option fields, but you could also save this information specifically with the campaign. This keeps your customer option fields clearer and you can also use these campaign fields in your e-mails, pages, or profiles.
- Click on ‘Campaign fields’ at the top of your campaign window.

- Click on the plus sign (+) at the bottom left of the pop-up window to create a new field.
- Enter a name and description for the field and select the ‘Type’.
- String type
This field type can be filled as you please, and both letters and numbers can be used. - Date
This field stores a date that you can also use in your profiles to calculate with. For example, the subscription date field is three weeks in the past. - Date and time
This field stores both a date and a time. If you perform calculations with date/time fields, you will need to use an interim time of X and Y. If you calculate with IS exactly three weeks in the past, Deployteq will only look at the date/time that is identical to the second. - Time
This field only stores a time. - Float type
This type of field stores a number with decimals. If you choose this type, you can also select how many decimal places you would like to use. In general, this type of field is used for currency, such as total turnover value. This enables you to perform calculations in your profile with bigger or smaller than. - Numeric
This field stores whole numbers. Use it, for instance, for IDs or codes that mean something to you. You can also use these later in your profiles. You could also use them, for example, to perform calculations with bigger than and smaller than.
- String type
You also have the option to index a field. Indexed fields help Deployteq find information in the database more quickly and easily. It is advisable to index fields that you will use frequently when creating profiles and search actions. Take care when using the indexing feature. Do not index too many fields and do not index fields with a long (text) input. The purpose of the indexing option is to speed up processes relating to fields that are frequently used. If too many fields are indexed, this option will lose its functionality.
Adding notes
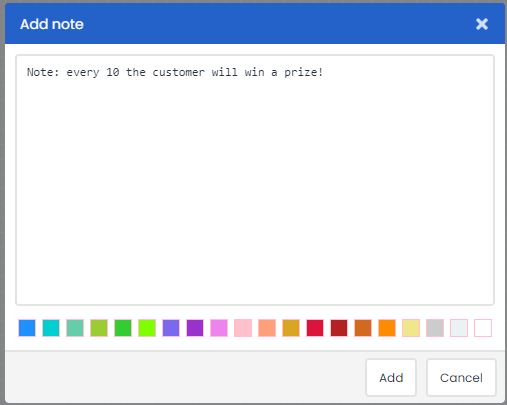
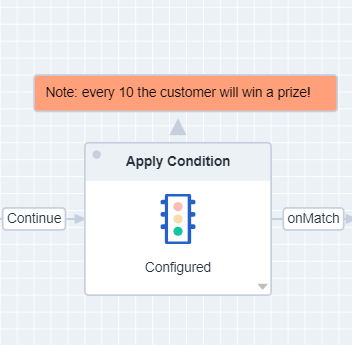
You can add notes to your campaign to clarify it. Notes are blocks of text that can be placed anywhere in your campaign to provide more information about how the campaign works, explain the purpose or origin of certain data, or to leave a message for a colleague. It is also possible to add a colour to a note to make it stand out more.
Links
Objects are linked together to create the path that a contact follows. The objects have various links and often have different options per link. An object can have several links. When you hover your cursor over an object, arrows will appear on all sides of the object and you can specify the direction of the path.
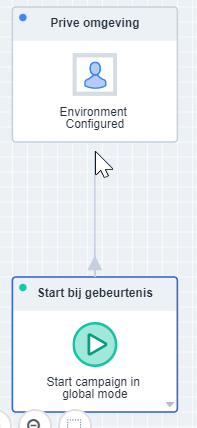
Select an arrow with your mouse and draw a line to the object you want to link to. If this link contains options, these will now be visible and you can select your preferred option. There are various possible exits for each object, with the ‘Continue’ exit available for every object. The other options available depend on the type of object and are described further on in the manual under Campaign objects.
Testing
Before you launch a campaign, it's essential to test it first. This way, you can ensure that everything goes as planned and there are no errors.
Here are some useful tips for testing your campaign:
Check the names of your objects where necessary. Are there multiple objects with the same names? Adjust the names so that you can see exactly where you will end up in your campaign.
Add yourself as a customer and run through the entire campaign. You can also do this with colleagues.
Set an override on your email objects so that only the test email address receives emails. You can then check if this object gets triggered and if the email arrives.
Test your campaign with multiple "customers" so that you can go through all possible scenarios. For example, when you have variations in your emails or when a split needs to occur in a group of customers.
Apply checkpoint objects in your campaign so that you can track if customers pass through this path via analytics.