In addition to automated campaigns, you may also have mailings, such as newsletters, promotional mailings, or price changes, that are sent to a specific group once only. This can be done using QuickMail. Select a group or profile and the content you want to send and schedule the date. You don’t need a major campaign, just the right content at the right time. You can also perform tests by sending different contents to your target group and seeing what works best for this group.
To start, there are several places where you can schedule a QuickMail. This can be done from the group or profile you want to send to and also in the Planning component. Click on the ‘QuickMail’ button at the top of your window.

You can then configure a number of settings to send your e-mail as efficiently as possible.
QuickMail types
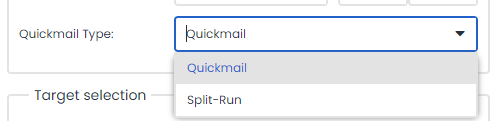
There are several options for sending your content.
- QuickMail:
Select this type if you want to send one content to a specific target group. - Split-Run:
You want to send several contents to a target group. The contents are divided equally among the target group. - Smart-Run (if activated in the Deployteq store):
You want to send several contents to the target group. A test set is sent to a proportion of the target group. Once the set waiting time has elapsed, the winning content will be sent to the rest of the target group. You can determine the size of the test set, the waiting time, and the method used to select the winner.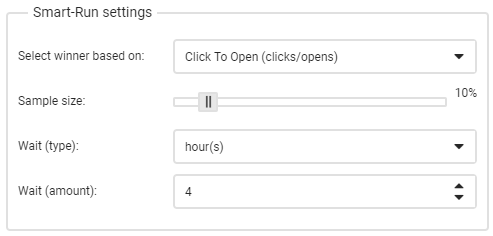
Configuring a QuickMail
Below is a description of what else you can configure in the QuickMail.
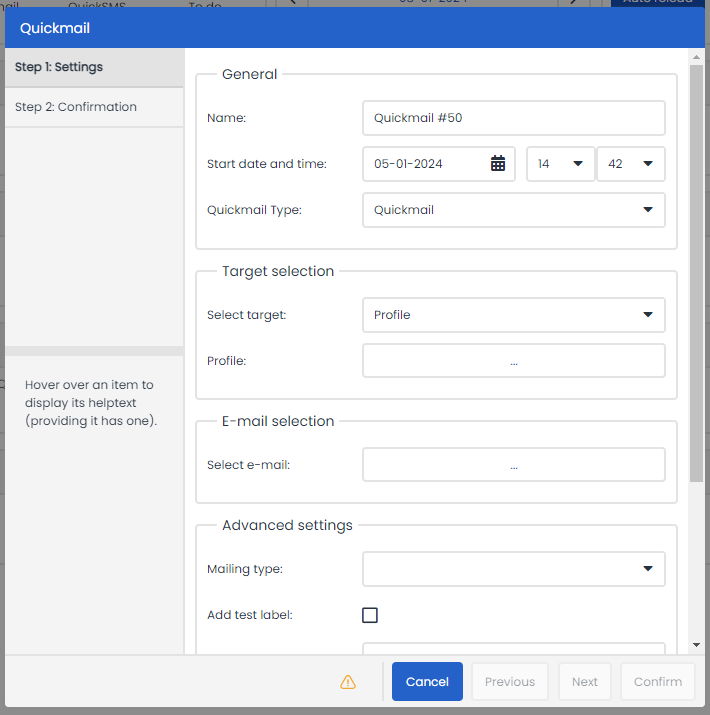
- Give the mailing a clear name, as it will also appear in the customer’s planning and history.
- Select a time for sending the mailing.
- Choose whether to send the mailing to a group or a profile. Then select the group or profile you want to use. The profile is recalculated when the mailing is sent. It is advisable to add the ‘is mailable’ condition when using a profile so that you can see how many customers will actually be sent the mailing. Addresses with an Opt-in = no or bounce will be excluded.
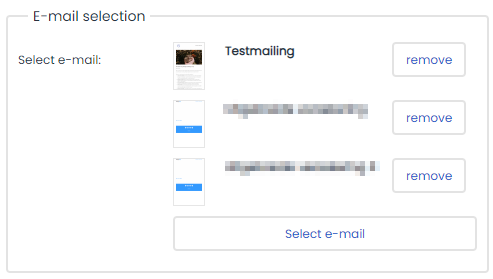
- For ‘E-mail’, select an e-mail that has been created in the 'Content' menu. If your e-mail contains a variable field (link to Variables), you could enter the value of this field here for this mailing.
- For ‘Mailing type’, select a mailing type created in the brand manager (e.g. newsletter, promotional mailing, etc.) This is recommended so that you can also view your statistics based on mailing type.You can opt to send your e-mail as a test e-mail first. Enter one or more addresses to receive the test e-mail, separated by a comma. For ‘Number of emails’, specify how many e-mails should be sent to the specified e-mail addresses that are chosen randomly. Please note that you will be testing with real customer data so if a click causes something to be saved to the customer, make sure that you reset this again before you send the actual mailing.
You can opt to send your e-mail as a test e-mail first. Enter one or more addresses to receive the test e-mail, separated by a comma. For ‘Number of emails’, specify how many e-mails should be sent to the specified e-mail addresses that are chosen randomly. Please note that you will be testing with real customer data so if a click causes something to be saved to the customer, make sure that you reset this again before you send the actual mailing.
- For ‘Email target’, select the number of contacts to whom the e-mail should be sent. Use the ‘Limit’ option to specify a maximum number of contacts. If you enter ‘500’ for instance, the mailing will be sent to the first 500 contacts in your selected group or profile. Use the ‘Random’ option to also specify a maximum number of contacts. However, these contacts are then randomly selected from the group or profile
- Use ‘Throttle speed’ to specify the maximum number of e-mails you want to send per hour. With this option, you can prevent your website from crashing as a result of your mailing generating too many simultaneous visitors, which your web server may not be able to handle.
It is possible to enter a different unsubscribe action. This action will be performed when a contact clicks on the ‘unsubscribe’ link in your e-mail. By default, the ‘One-click unsubscribe’ option selects the brand according to your brand settings. You can also opt for an unsubscribe campaign that you created using the ‘unsubscribe template’ in the Campaign section. When you select an unsubscribe campaign, contacts who click on the unsubscribe link in your e-mail are automatically deleted from the campaign. This is only possible if you use the Smarty code {{unsubscribe}} in your unsubscribe link in your e-mail. If it is a campaign link in the template, this option will have no effect.
You can also configure a different bounce action. This makes it possible to include in a campaign contacts to whom the e-mail could not be delivered. Various actions can be carried out inside the campaign, such as addition to groups, removal from groups, modification of customer fields, etc. No distinction is made between hard bounces and soft bounces which means that contacts who may still be mailable may also be included in this campaign.
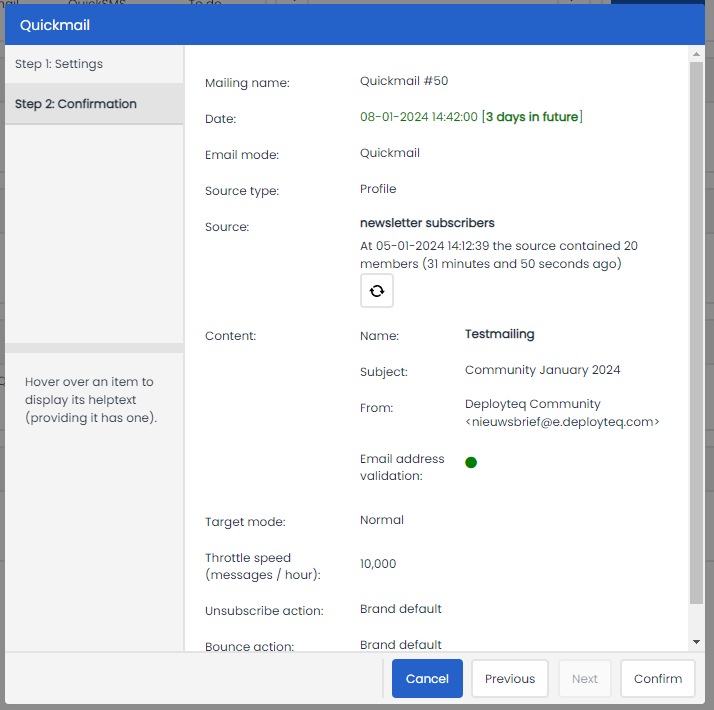
When you click on ‘Next’, you will see an overview of the e-mail you have configured. Check it carefully.
Source count reflects the number of contacts in a profile or group. This count can be recalculated to give you a current overview of the customer selection. Click ‘Confirm’ if you have configured all the settings to your preference. If you still want to change something, click on ‘Previous’ to go back to the previous screen. To cancel the QuickMail, just click on ‘Cancel’.
How do I configure a Split Run?
A Split Run is configured in the same way as a QuickMail, although you can select more than one content. If a target group cannot be divided equally, the remaining contacts will be assigned to the selection of content that was added most recently. When the customers are divided across the Split Run, non-mailable customers are not taken into account.
Smart-Run
You can install this app via the Deployteq store.
You want to send several contents to the target group. A test set is sent to a proportion of the target group. Once the set waiting time has elapsed, the winning content will be sent to the rest of the target group. You can determine the size of the test set, the waiting time, and the method used to select the winner.