Administrators can add new users and give them the rights to the brands that they need. If they need different rights to other users, you can create a new role or modify a role. Below is a brief description of what you can enter for a user and what this affects.
Adding users
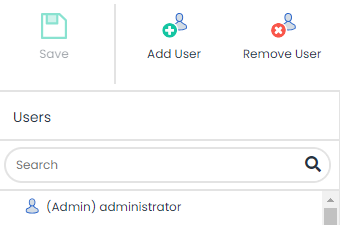
To create a user, click on ‘Add user’ in the ribbon.

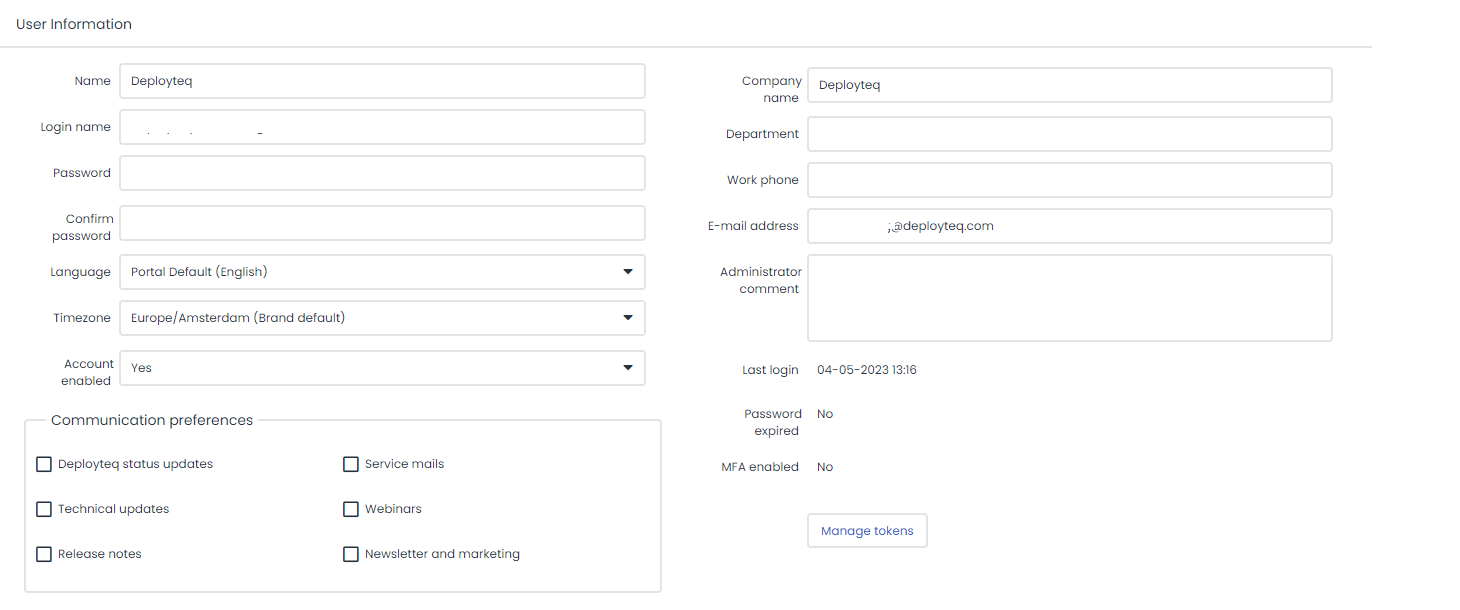
The following fields can be completed in the window on the right of the worksheet:
- Name
The user’s full name - Login name
The username of the user for login purposes - Password
A temporary password that the user can use. The user can configure their own password via their personal settings. - Language
The language in which the Deployteq user interface is displayed. If this field is blank, the brand’s default language will be used. The language that you specify here will only be used for the Deployteq interface and will have no effect on campaigns, e-mails, forms, etc. - Time zone
The user’s time zone. Times in Deployteq are modified according to this. If no time zone is configured, the brand’s default time zone will be used. - Company name and department
The user’s company name and department. The user will be grouped in the tree diagram on the left-hand side according to this company name - Administrator remarks
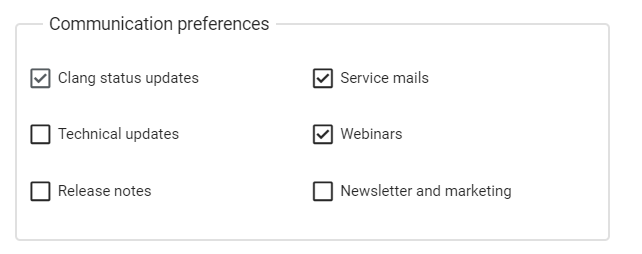
An additional description of the user that the administrator can add. The user cannot see these remarks unless the user also has administrator rights. Communication preferences
The mailings that the user wishes to receive.
In addition, it is possible to register the new user for the digital communication items sent by Deployteq. Check one or more of the boxes and this will be passed on to the Deployteq marketing team. The user can also do this in their personal settings.
Role application
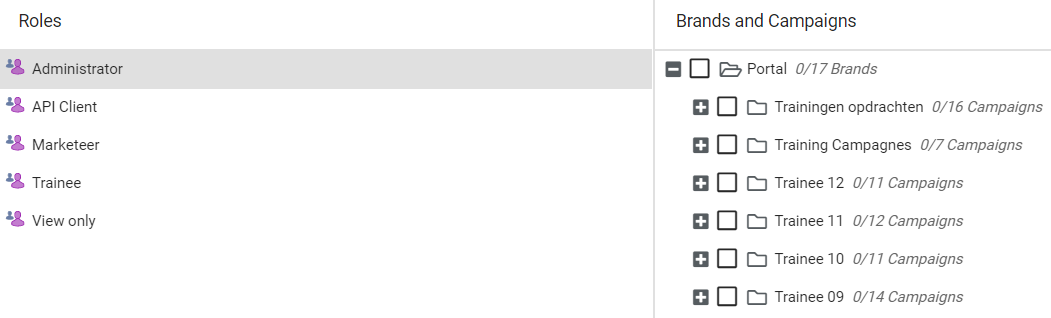
To assign the user rights to one or more brands, you will find ‘Roles’ and ‘Brands and campaigns’ at the bottom of the window. These roles determine what rights are allocated to users. At the bottom of this window you will see links for the roles defined in ‘Manage roles’. These roles determine what a user is allowed to view and modify.
An administrator is also permitted to add or modify a role.
Once you have selected a role, you can specify for which brands the user will be allocated the rights. When you expand the brands displaying a plus sign, you can even specify which campaigns the user is allowed to view and modify. When you click on another role, you can also link a different brand to it. This could result, for example, in a user having administrator rights for one brand, but only viewing rights for another brand.
Above all the brands you can also see the ‘Portal’ checkbox. If this is checked, the user is given the rights associated with this role for all current brands as well as any brands created in future.
Creating an API token
If you want to use the API, you first need an API token that is added to your call to recognize that you are allowed to communicate with this brand. The API token can be created by the administrator for your brand. To do so, go to the user administration section within Deployteq.
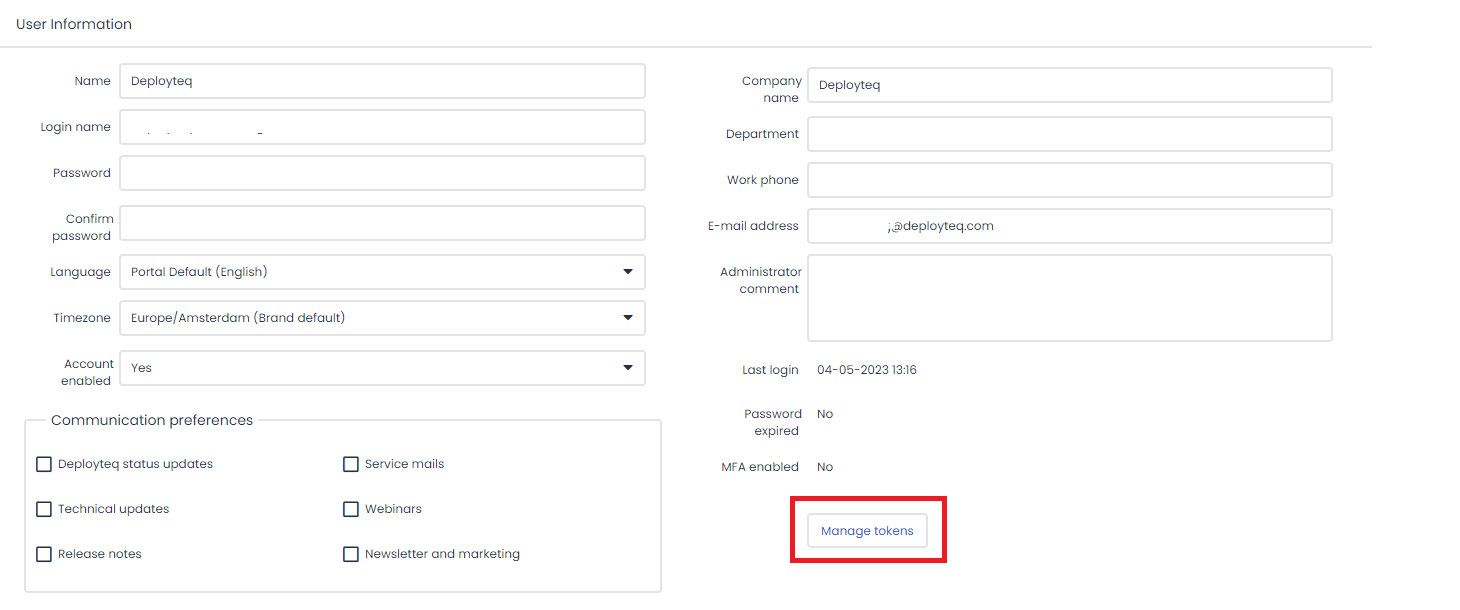
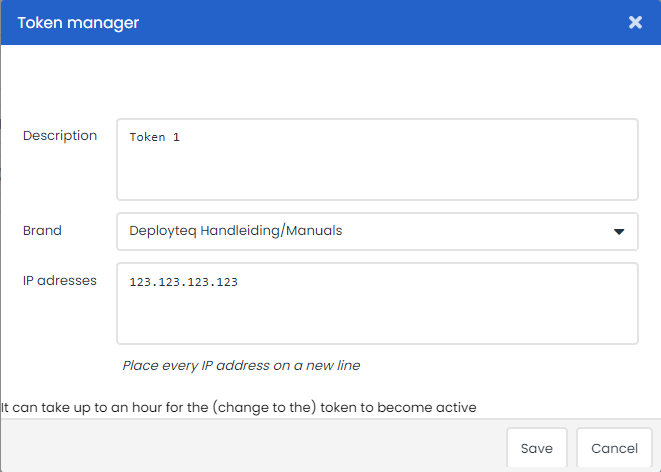
Once you have selected a user, click on ‘Manage tokens’ at the bottom right of the information. Here you can create a token for a brand to which the user has access. Once a token has been created, it may take up to an hour before it becomes active. Once the token is active, you will see a checkmark in the right-hand column in the list of tokens.
Portal admin
Do you have any questions regarding the creation, deletion, or modification of a Deployteq user account? The Portal Admin is the only person authorized to change passwords, reset them, or create new accounts.
To find out who your Portal Admin is, you can check under the "Users" section in the "Management" menu.
The Portal Admin is often recognizable by the addition (Admin) in the username and appears at the top of the list of users.