Installing WhatsApp
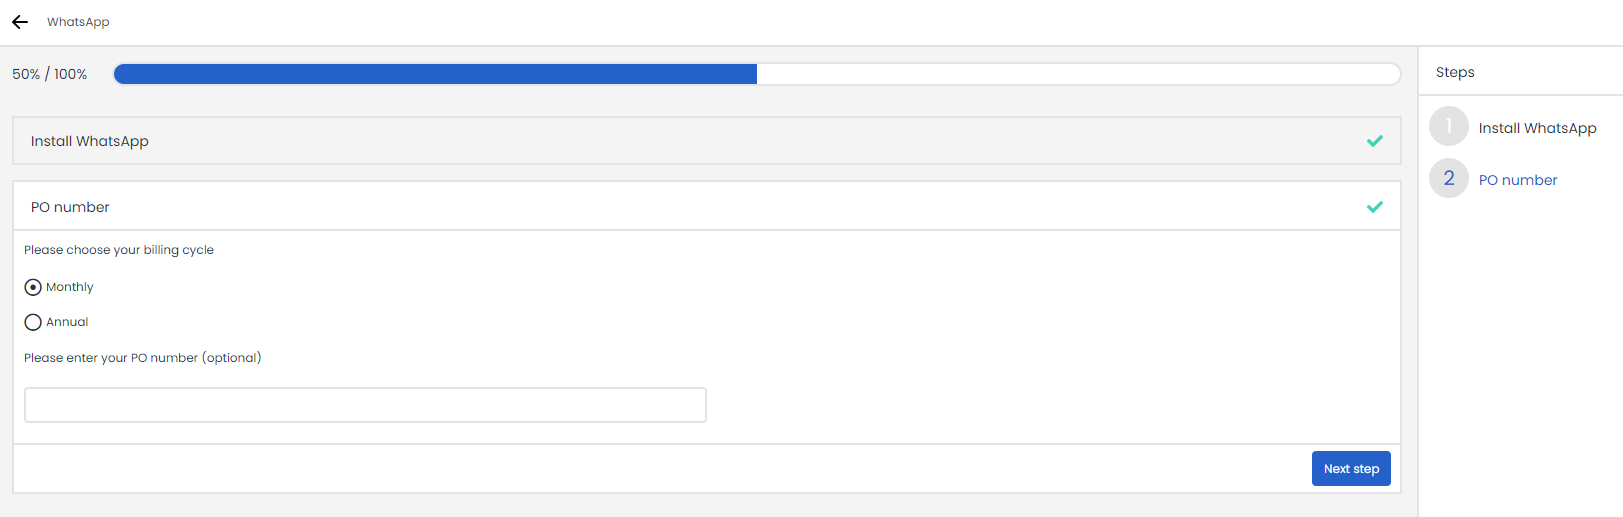
Navigate within your portal to the Store and select the "WhatsApp" integration. Then, proceed to follow the installation wizard.

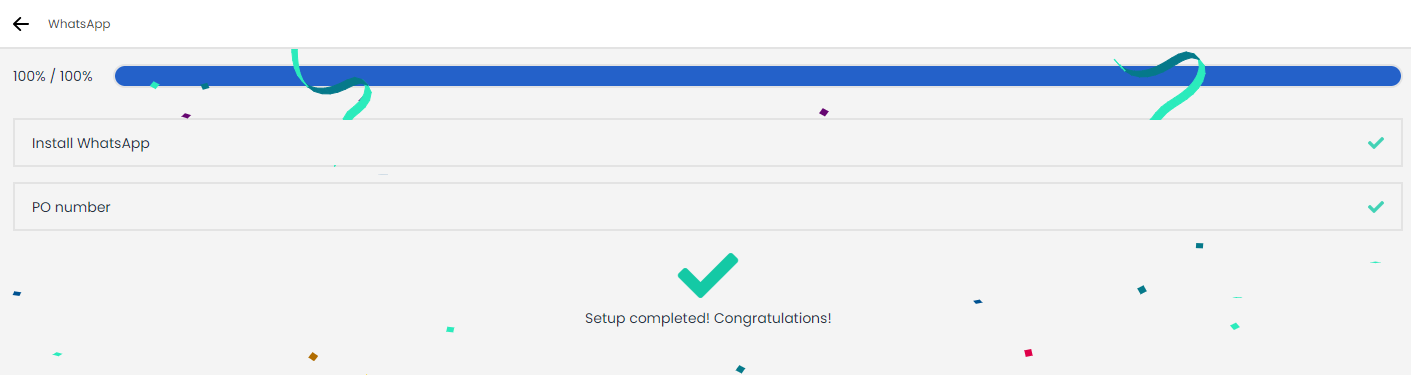
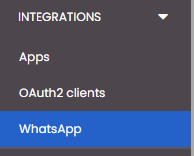
The installation is complete! You will now find WhatsApp in the menu on the left, under Integrations.
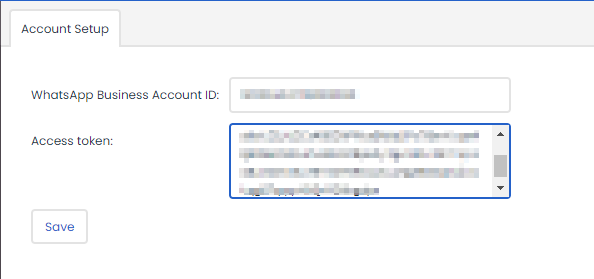
Here, you fill in the Meta Business ID and Token:
Using WhatsApp in a campaign
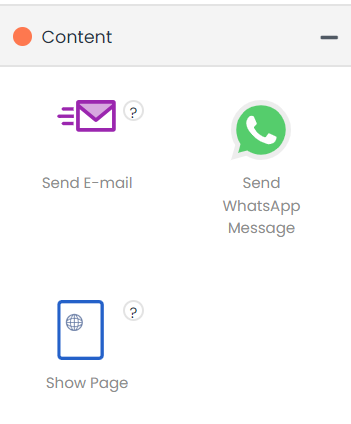
Within your campaigns, you now also have access to the WhatsApp object, located in the Content category.
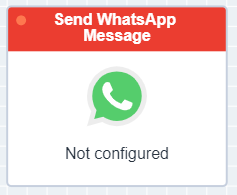
If you drag the WhatsApp object into your campaign, it is not yet configured.
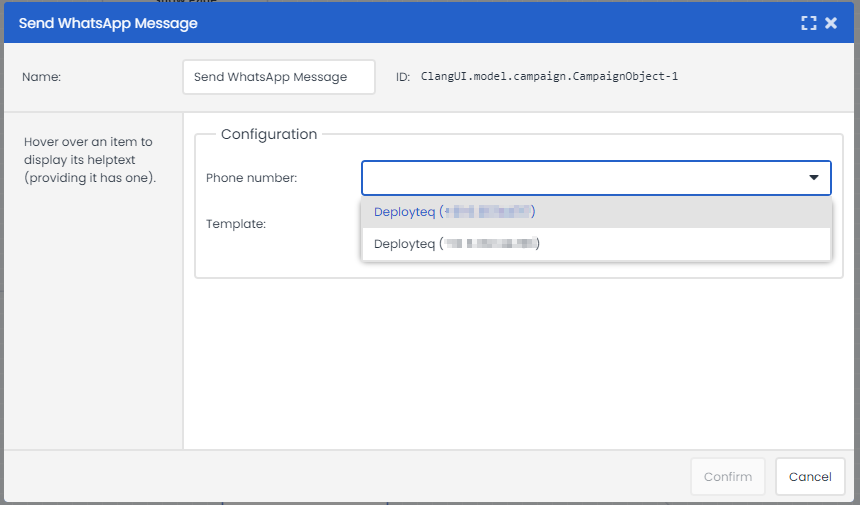
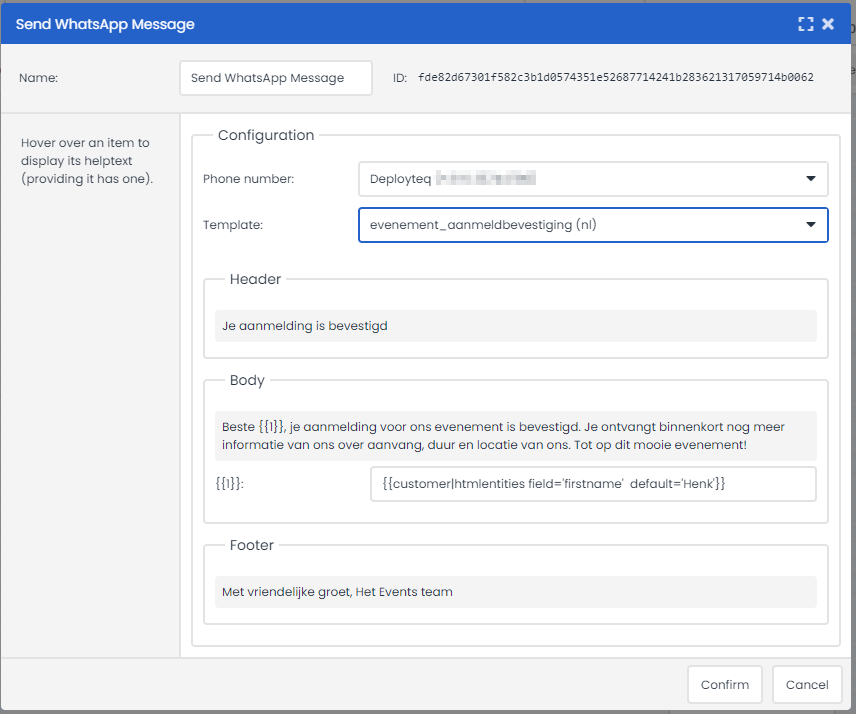
Double-click on the object to configure it. You will see the fields Phone Number and Template.
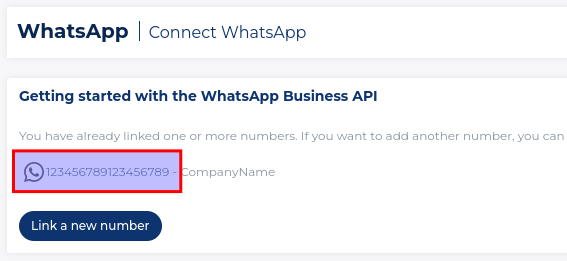
- For Phone Number, choose the name you have given to the linked mobile number in Meta Business Suite.
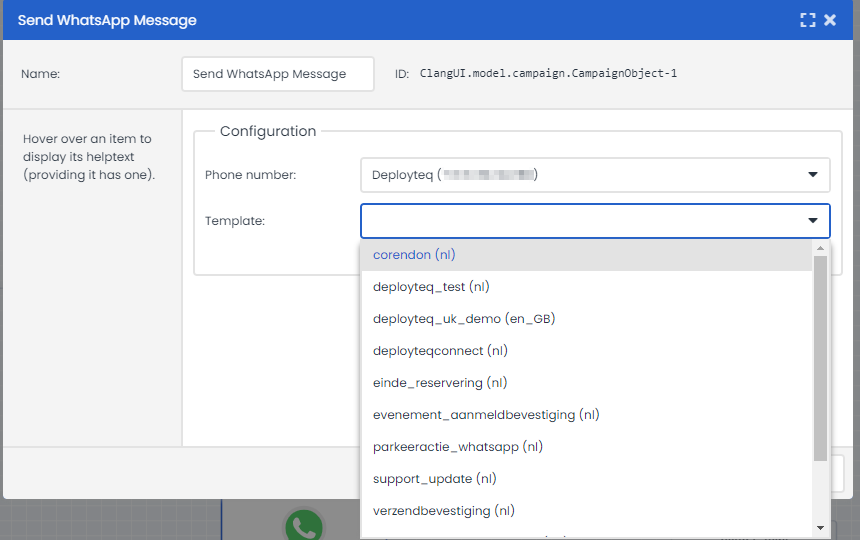
- For Template, choose one of the message templates you have created there.
|
|
|---|
After selecting a template, the message text (including any variables) that you have created in Meta Business Suite will be displayed.
If there are variables in your message text, you can then link them one by one to Deployteq fields using Smarty:
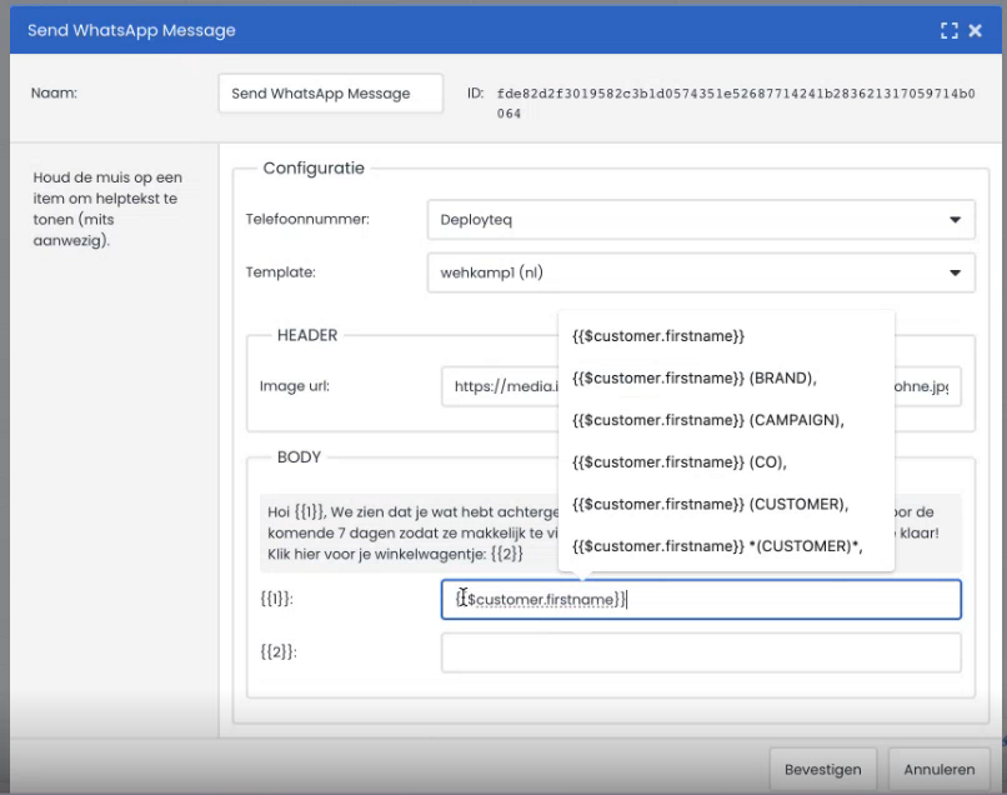
Once you have linked all the variables, click on Confirm. The WhatsApp object is now correctly configured in your campaign and ready for use!

Opt-in for WhatsApp
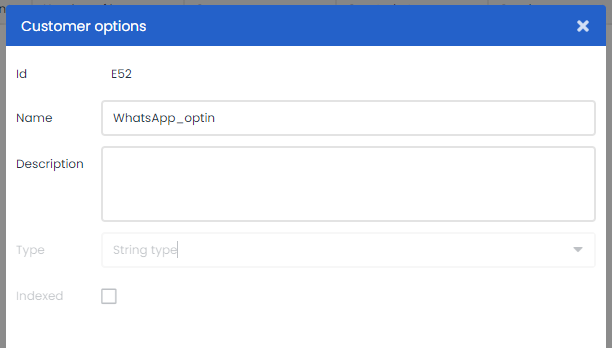
In Deployteq, there is currently no standard customer field for opting in or out of WhatsApp messages.
This can be resolved by creating a customer option field for this purpose. This field can be filled by including a URL in the footer of your WhatsApp messages that directs the customer to a page where they can make their choice. The choice made here can then be mapped to the newly created customer option field.

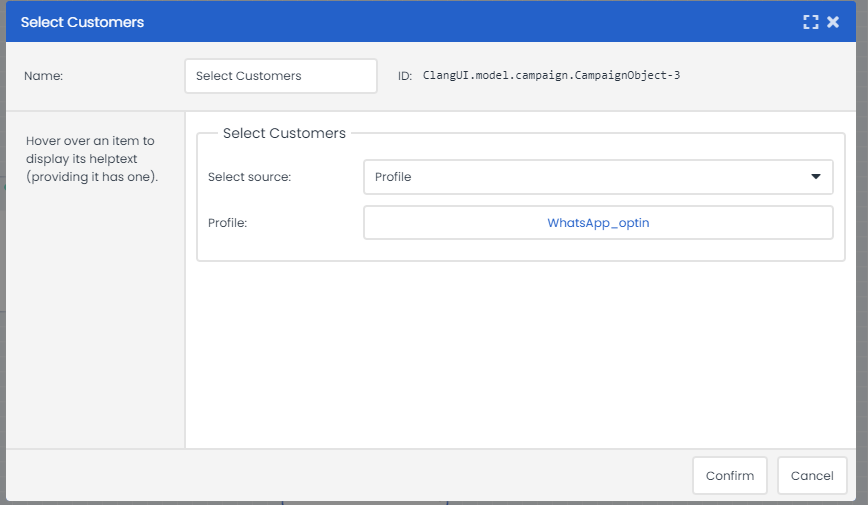
This field can be used in a profile.
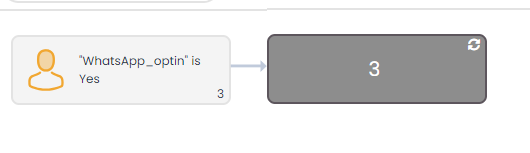
In the campaign, you can use this profile in the Select Customer Object so that you only send WhatsApp messages to customers who have given their consent for it.
The current integration only allows for sending messages. Customers cannot directly respond to these messages and initiate follow-up actions within Deployteq. Enabling responses to these messages and initiating follow-up actions is planned for the next phase.