Step 1 - Create webhooks in Deployteq
First, a webhook receiver needs to be created in the Deployteq store, using a clear name for this webhook. You can find detailed instructions on how to do this in our guide:
The configuration of the webhook can be initiated once the request is received from Pipedrive, as mentioned in step 2.
Step 2 - Create Pipedrive Webhooks
If you are logged into Pipedrive, you can open the menu item "Tools and Apps" under your user profile.

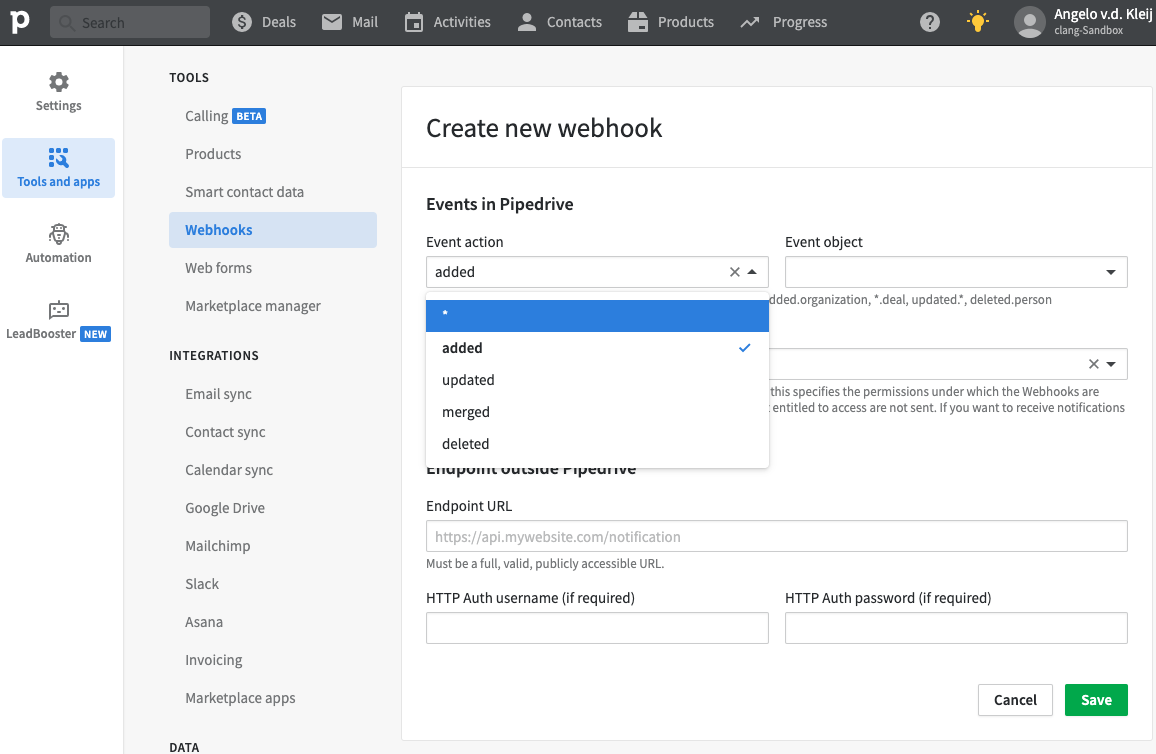
Under the "Tools" section, you can view or add the configured webhooks. Create a new webhook, and you can choose the "Event action" to specify which activity should send information to Deployteq. This can be done for all actions or a specific action: Add, Update, Delete, or Merge. In this example, we start with only the new additions: Added.
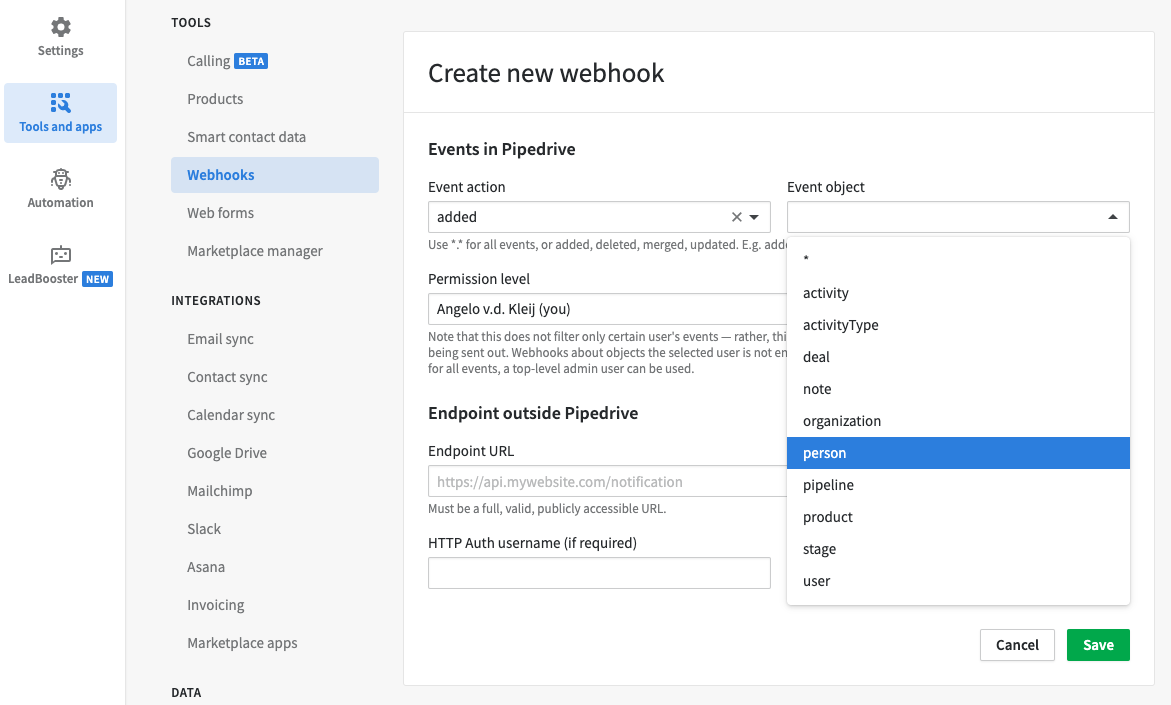
Under "Event object," you can specify for which object information should be sent. The most logical objects for Deployteq are typically person, organization, deal, and product. In this case, we choose person (Contacts).
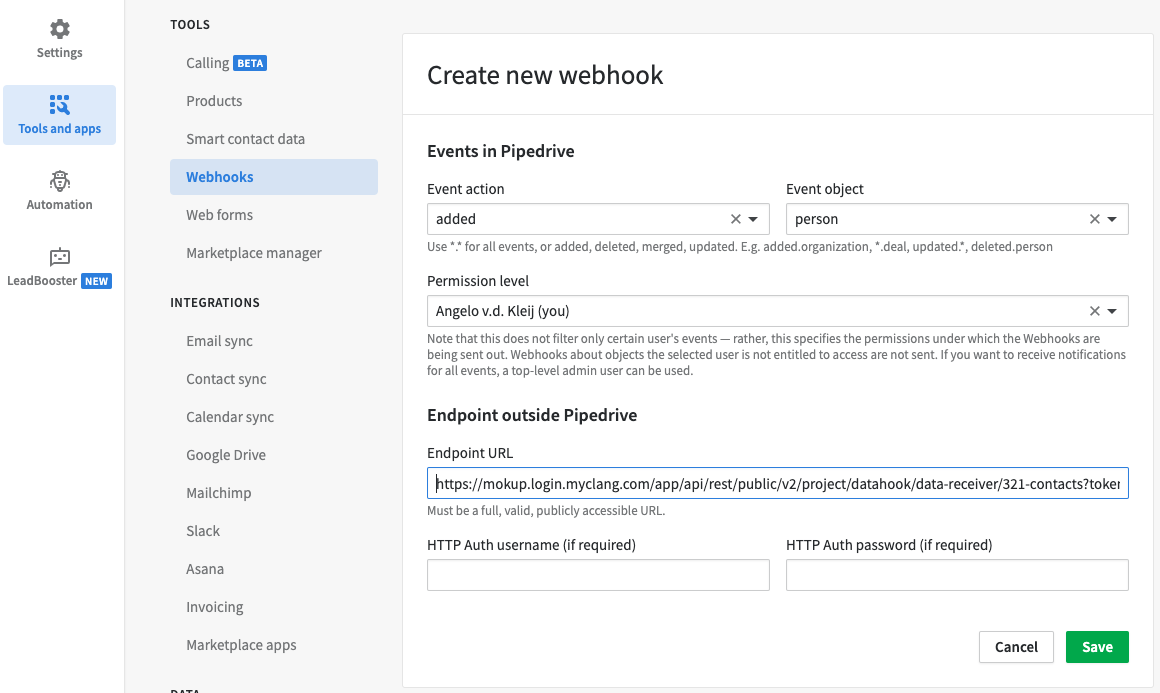
Finally, add the endpoint from step 1 as the "Endpoint outside Pipedrive."
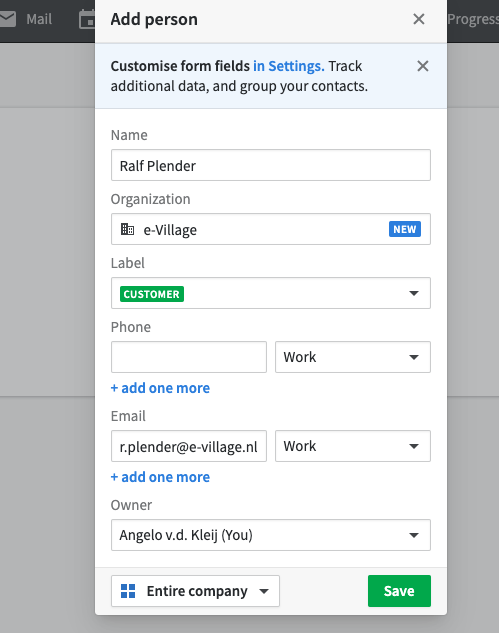
If a new contact is created in Pipedrive, the webhook in Deployteq will be triggered. From that moment, the data can be linked in the Deployteq webhook.
Step 3 - Configure the Deployteq webhook
In the final step, open the webhook from step 1. Choose the option "Adjust data mapping" to see which data has been received from Pipedrive and link the customer fields to Deployteq fields. In the example below, the person is created, Deployteq shows that the data has been received, and finally, the customer data is made unique based on the primary email address.
The other customer fields will also need to be linked to store all relevant data in Deployteq. You can find instructions on how to do this in the guide.
Step 4 - Start a Campaign
In case the above steps have been completed, and you want to initiate a campaign immediately when a customer is delivered via the webhook, for example, to start a welcome program, refer to the guide for instructions:
If you do not want to start a campaign, you can skip this step.
Need support?
No experience with webhooks or temporarily short on time to set this up yourself? Feel free to contact us at +31 30-698 80 80 or via tpm@deployteq.com.