The File manager contains all files, campaigns, e-mails, templates, and profiles that you saved in Deployteq. If you were to collect all these in one large overview, it would soon become rather chaotic, as you often have three or more images, a profile, and the e-mail itself when preparing an e-mail. If you think about how many e-mails you create, this can quickly become a disorganized mess. We have therefore incorporated structures in Deployteq to keep everything in order.
More structure in your File manager
Think beforehand which folders you want to have in the general overview. This could include campaigns, individual e-mails, images, and an archive, etc. You could also number folders so that you always have them in the order you want. As campaigns are running, you may want to have them at the forefront in the ‘01. Campaigns’ overview, but give the archive folder, which is less important, the last number of ‘zz. Archive’.
If you have campaigns that are live or which are constantly running via a link with another system, always give these a clear name and place them in a separate folder called ‘Live’ for instance. This will prevent you from making changes to these campaigns by accident.
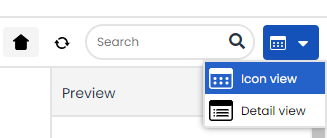
If you want to search for a specific campaign or e-mail, you can enter its name or part of its name in the search window at the top right. \

Lastly, you can also change the way your files are displayed. If you would prefer to see the details of all the files and folders in a list, choose Detailed view in the top right.
Creating folders
Start structuring your files by creating new folders within the File manager.
Create a new folder by clicking New Folder in the menu bar. You can now enter the name of the folder.
You create a new subfolder by opening (double-clicking) the folder in which you want to create the subfolder and then clicking on New Folder in the menu bar.
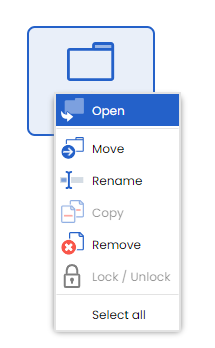
- Select the folder you want to rename by single-clicking it and click on Rename Folder in the menu bar. Enter the new name.
- Select the folder you want to delete by single-clicking it and click on Delete Folder in the menu bar.
You can do the same by clicking on the folder with the right mouse button
Campaign folders
When you create a campaign, a folder with the same name as your campaign is created automatically. You can use this campaign folder to save all files (such as pages, profiles, e-mails, etc.) that you use for that campaign.
External folders (S)FTP function
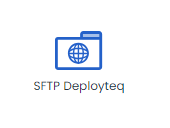
In addition to using local files, it is possible to use files that are found in an external location ((S)FTP or web server) in various places in Deployteq. You only have to configure where the files are located once, and this location can be used in all of Deployteq’s modules. It is easy to link an external (S)FTP location by creating a new external folder:
After entering the name of the folder and the relevant location, you can test the connection by using the ‘Test connection’ button. You will then see a folder in the File manager that displays a globe icon. You can now access the files from the Deployteq File manager.
If you want to change the settings of the link, you can access the link settings by clicking your right mouse button.
External files
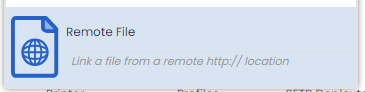
If you want to link an external file, which is shared via http(s), you can configure an external file. An external file is a reference to an online location that can be used throughout Deployteq. For example, you could configure an import for an external file and every time that the import is run, it retrieves the latest data that is available online.
You can recognize an external file in the File manager from the following icon.
It is possible to move or delete several files at the same time. Selections can be made by keeping the CTRL or Shift key pressed when clicking or by using the mouse to draw a selection area.
You can then drag the selected files to the desired folder. This can be done with the Tiled view and Detailed view in the File manager.
It is also possible to drag files from your local computer to Deployteq. This makes it very easy to upload several images or CSV files.