6.3 Quicktest
After you have viewed the preview, it is possible to perform a Quicktest. The difference with testing send profiles is that you are now unable to test the variables in your e-mail. You can send a quicktest as following:
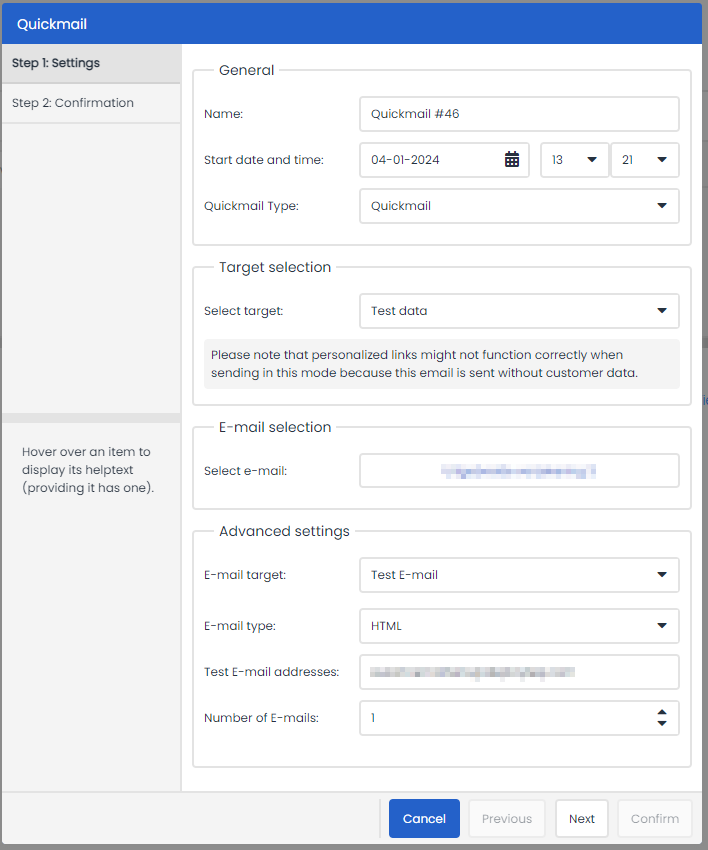
- Click on the ‘Quicktest’ button at the top of your screen. Click on the button so that you can configure the settings for the test.
- Enter a name for the test e-mail.
- Enter a date and time to send the test.
For Quickmail type you can choose between a Quickmail or a Smart Run or Split Run. - Then select whether you would like to apply the test with fictitious test data or use an actual profile or group.
- Select your e-mail.
You cannot change the e-mail target; this will always be set to ‘Test e-mail’. - Then choose whether you want to test the text or HTML version, or both.
- Enter the e-mail addresses for your test e-mail, along with the number of e-mails. Click 'Next'.
- Check your data and click on ‘Confirm’ to send your test e-mail.