With the URL Parameters app, you can easily add (default) URL parameters to every link in your email, with the goal of sending recipient information to the website. This can be used, for example, to personalize the recipient's experience or to simplify logging into a personal environment. URL parameters are the data added after a '?' symbol in a link and are separated by '&'.
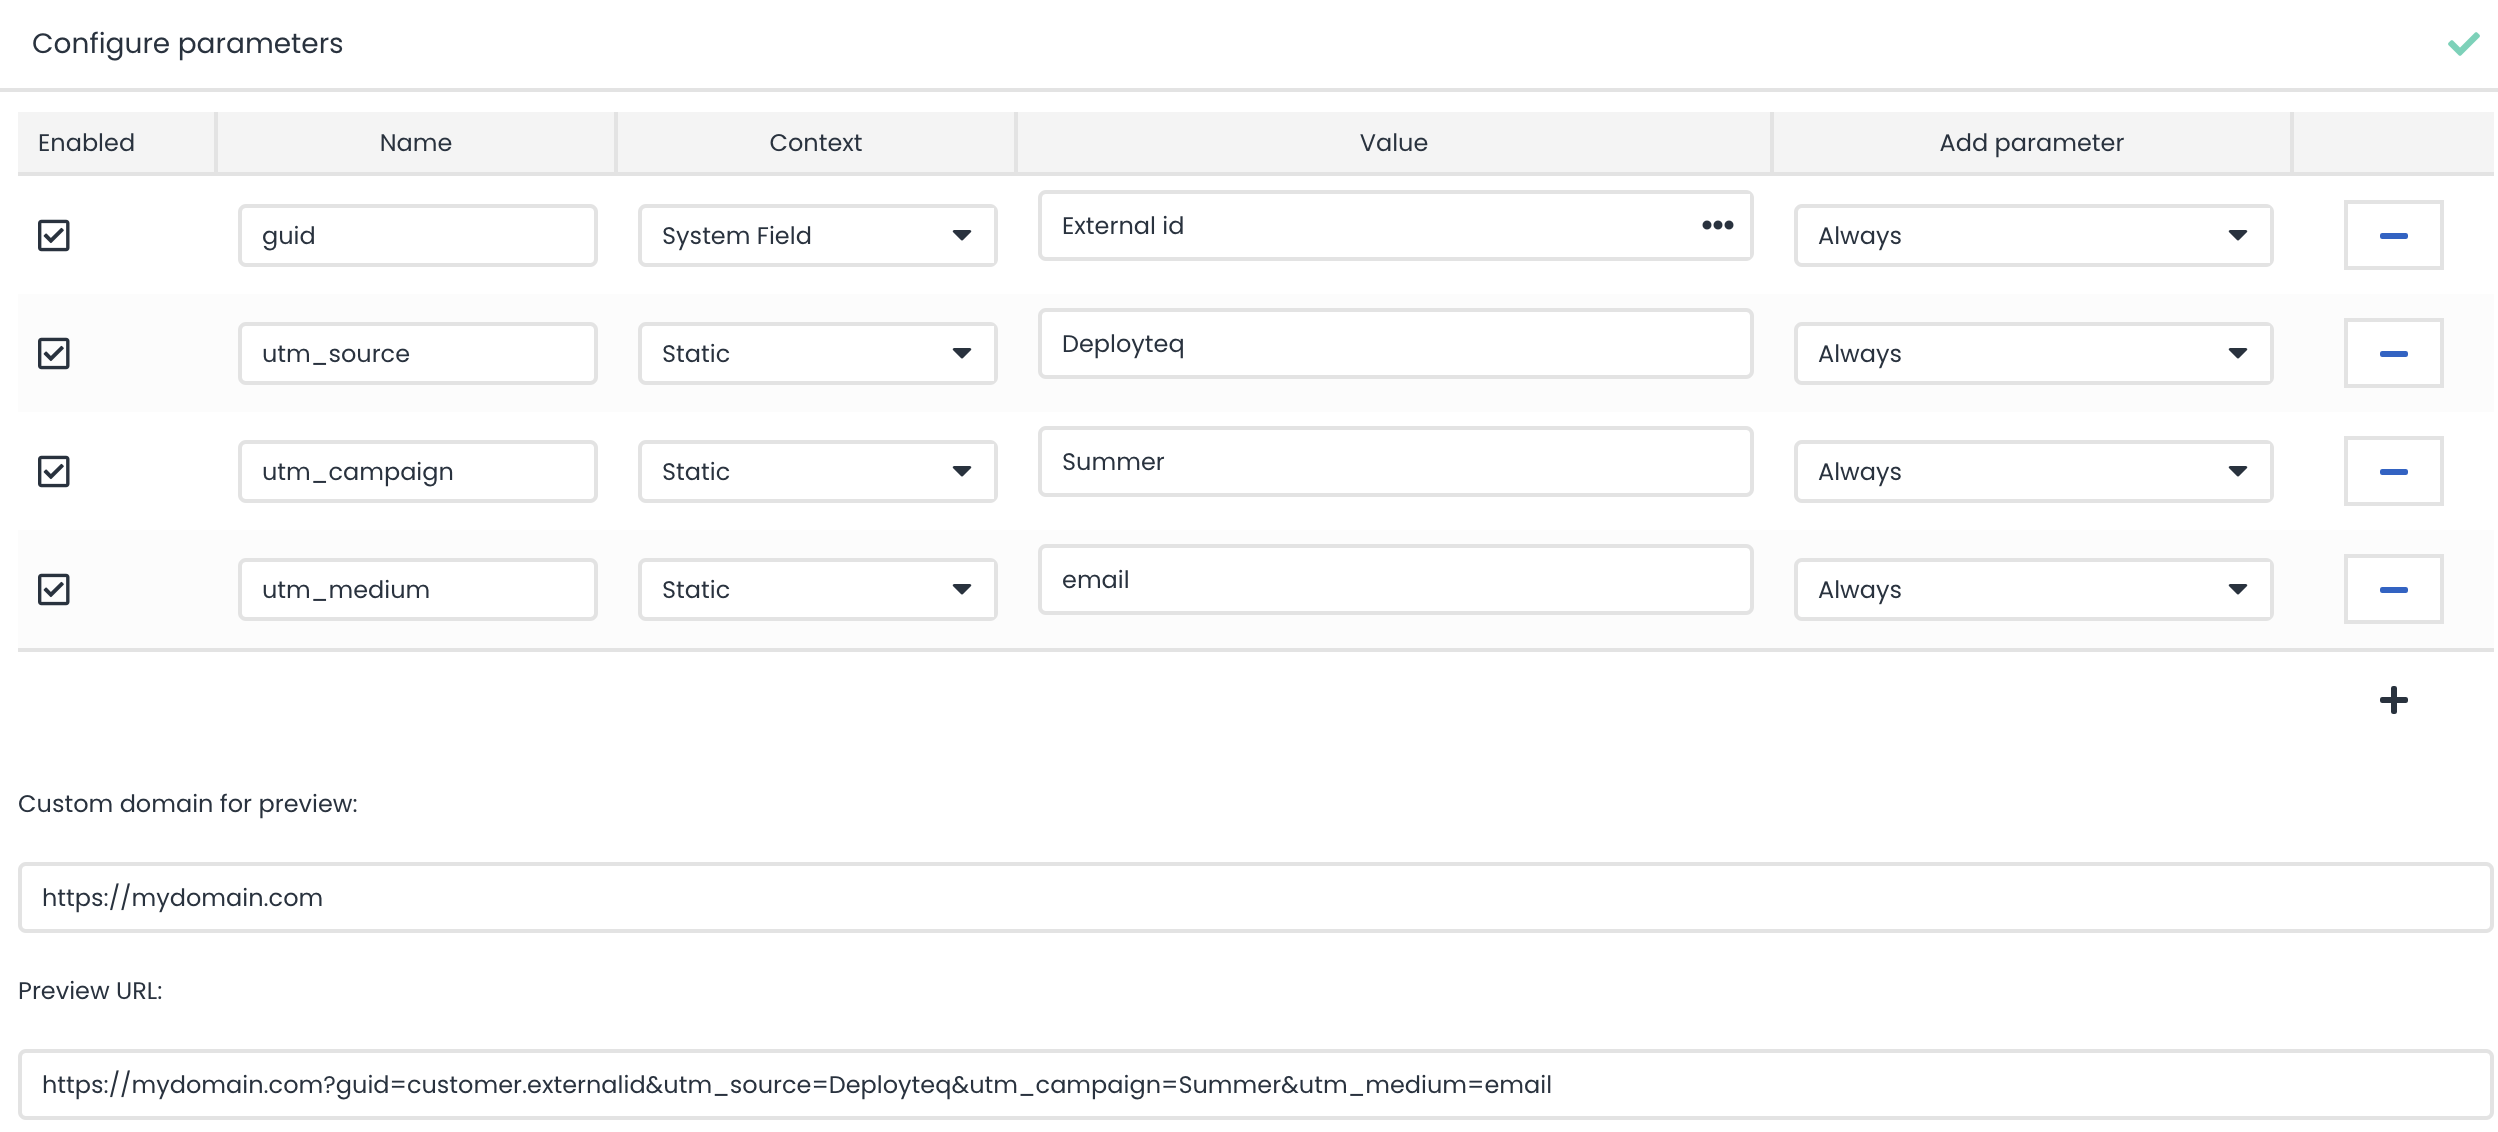
https://www.mydomain.com?guid=617279f2-93eb-400b-8b53-310f832b3c3&utm_campaign=Summer&utm_medium=email&utm_source=Deployteq
Adding these URL parameters does not require any changes to your content or templates and will be added to all new sendings or online previews after installation.
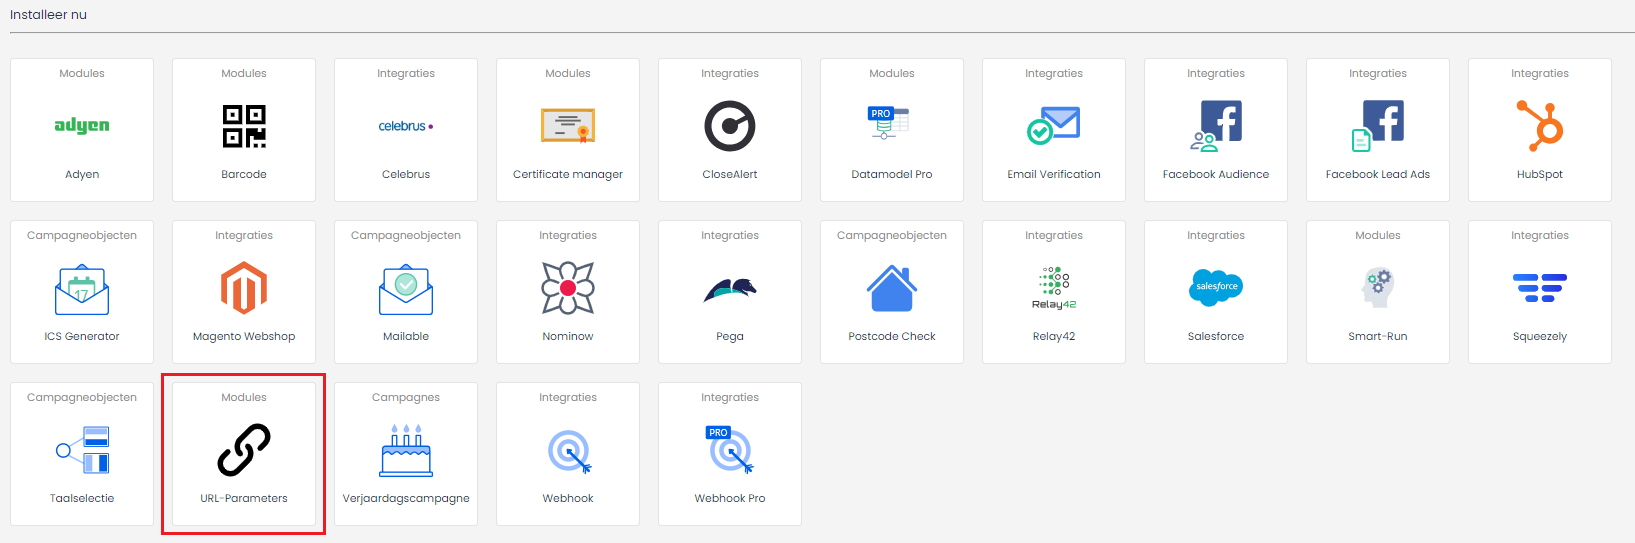
Installation
You can easily install the URL Parameters app via the Store. You can find this app in the Store:
When you agree with the costs, you can click 'Install' via the pop-up. Don't see the 'Install' button in the bottom right corner? Then you may not have the permissions to install an app. In this case, contact the portal administrator to have the app installed or to obtain the necessary permissions.
Getting started with configuring parameters
During the installation of the app or after reopening the app, you will have the opportunity to set the URL parameters or modify the settings. If you enter a sample URL, you will immediately see a preview of the generated URLs.
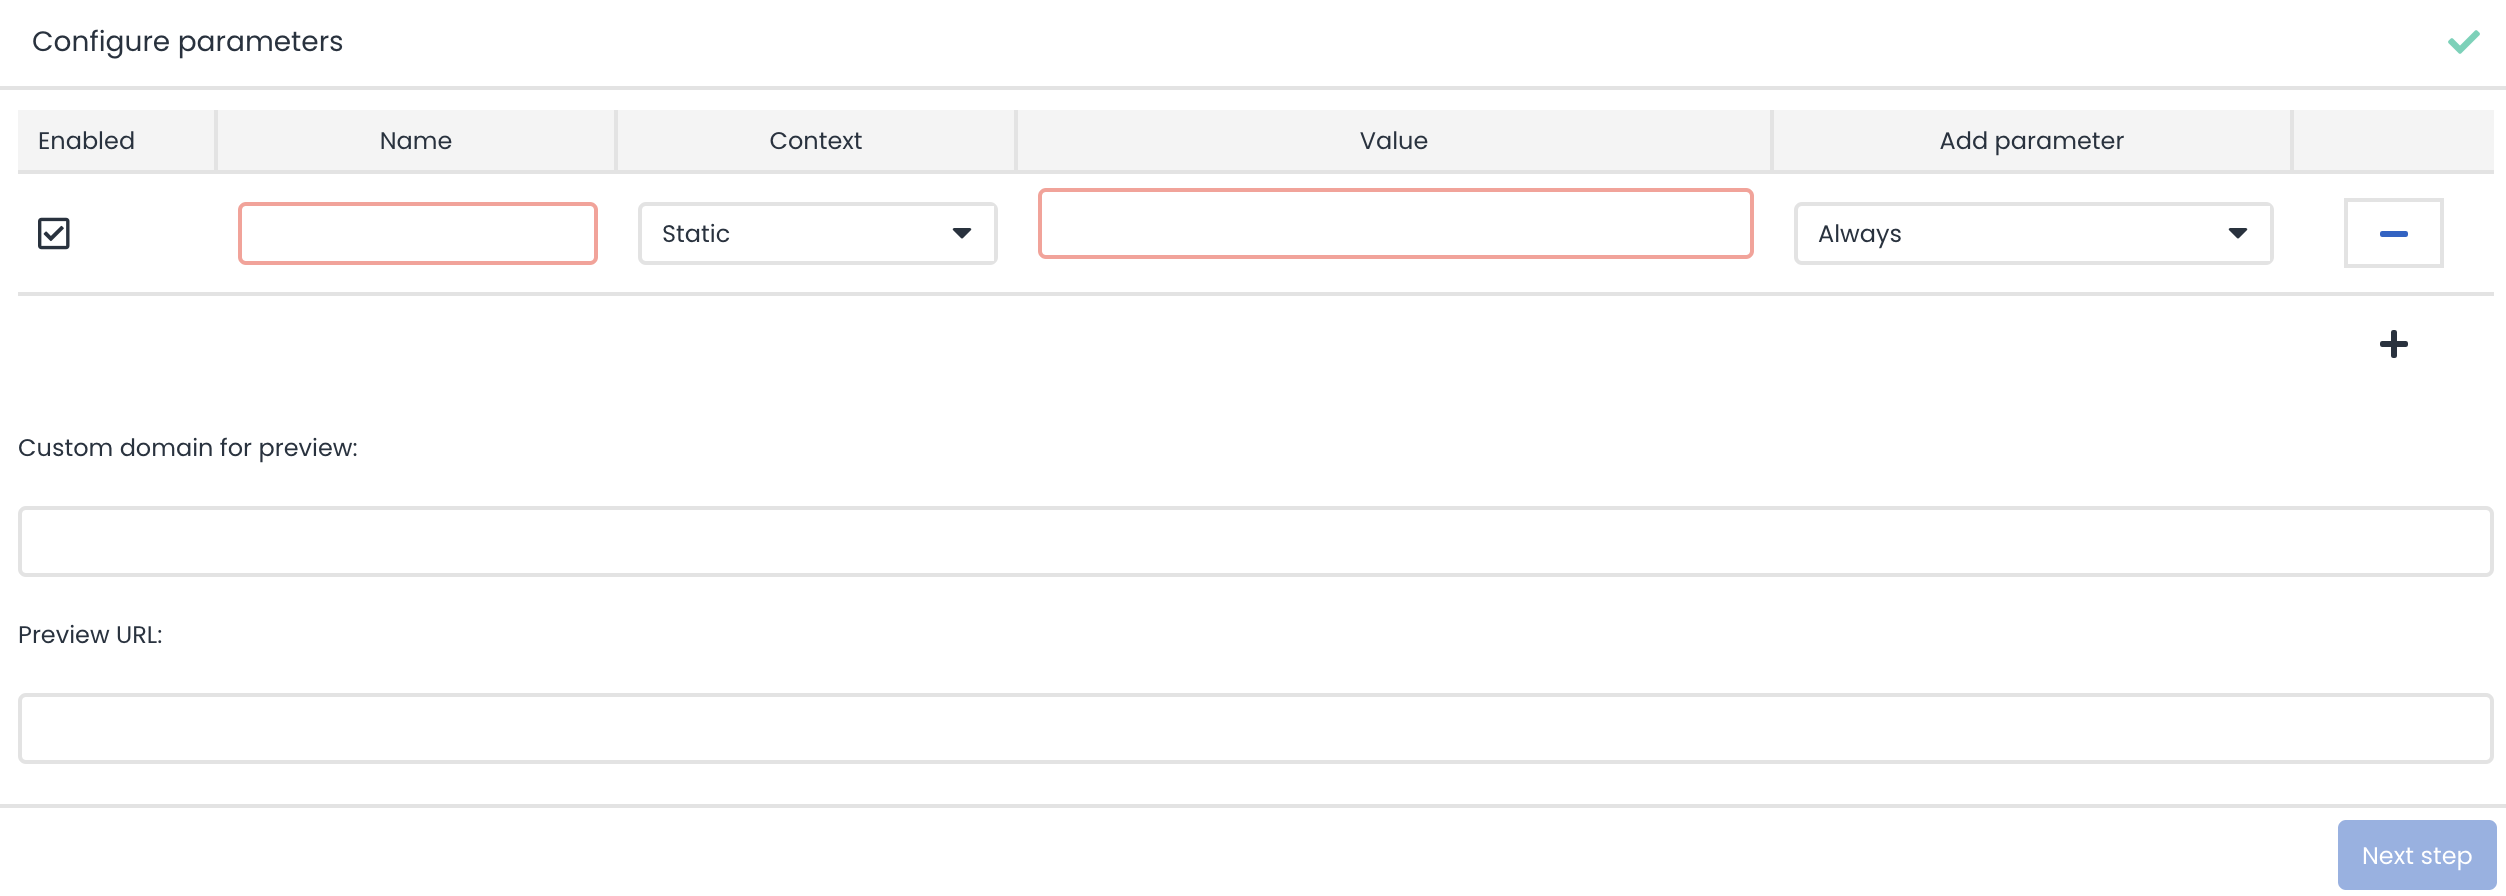
In five simple steps, you can set your URL parameters:
- Click the plus sign to add a new rule or edit an existing rule. Click on the minus icon to remove a specific row.
- Ensure that the URL parameter is activated.
- Provide a name for the URL parameter.
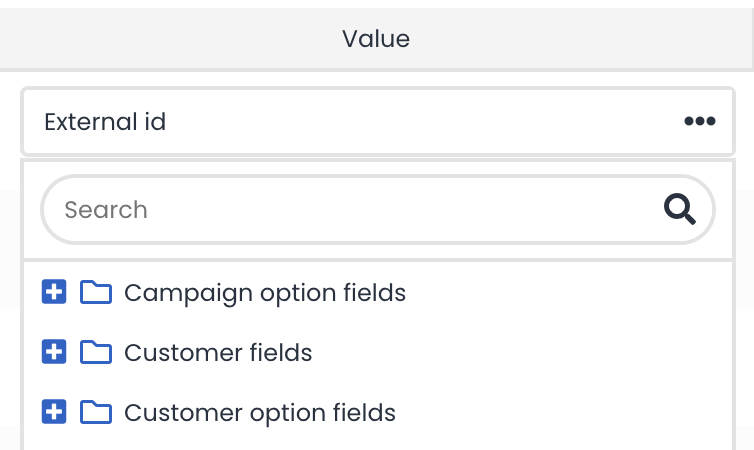
- Determine the value; you can choose a fixed value, like context, or based on a system field. If you choose a system field, you can select from all customer fields, customer option fields, or campaign option fields.
- Fixed value, for example, a utm_source that should be filled with the fixed value Deployteq.
- Based on a system field, for example, if a GUID or hash of the user needs to be sent. In the example below, this is included in the system field externalid:
- Fixed value, for example, a utm_source that should be filled with the fixed value Deployteq.
- Set whether the parameter should always be added or only if the user has given consent to track their behavior.


Based on the example in the introduction, the settings will look as follows:
Support of Smarty
If a fixed value is chosen, Smarty can also be used to secure customer data or add broadcast information. To obtain the standard Smarty code, it's best to add the desired customer field, customer option field, campaign option, or shipping information to an email content and copy the Smarty code to the settings of this app.
Below, a number of examples will be explained.
Secure customer data
To secure customer data in the URL, you can use SHA256 encoding, for example, based on the email address. Place the following code in the value field to achieve this:
{{customer|hash:'sha256' field='emailaddress'}}The settings now look as follows:

Add broadcast information
When you want to include broadcast information or content names of the broadcast, this can be done using the broadcast data Smarty variable. By adding this in the email editor, you will get a clear overview of the possible data that can be included from a broadcast.
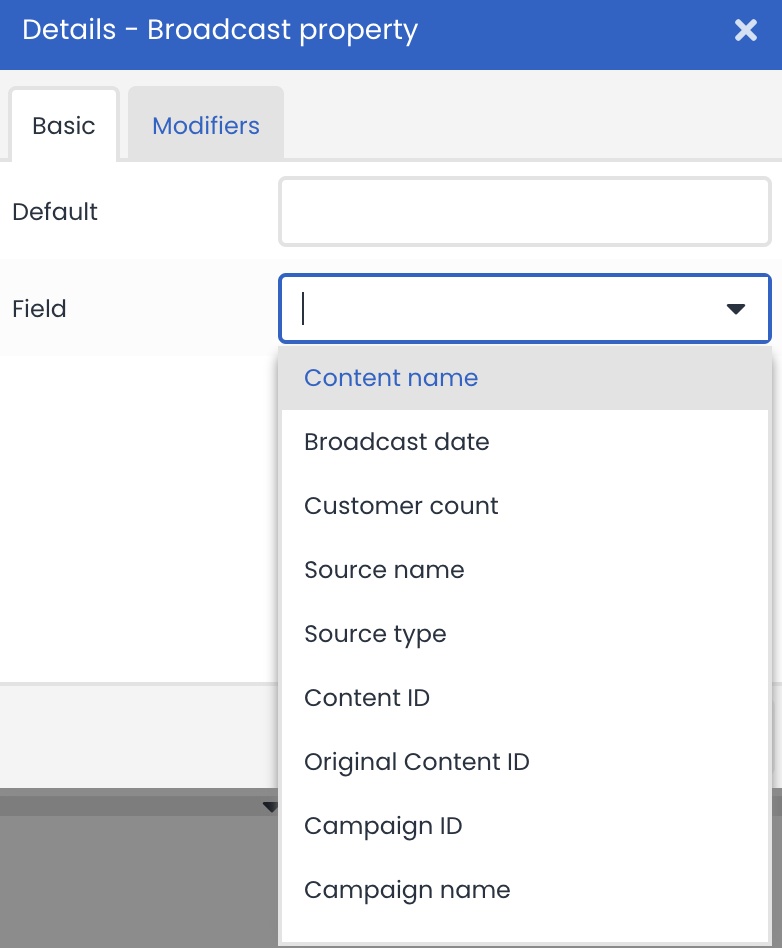
In this example, we will add the campaign name to the URL parameter utm_campaign, with the requirement to replace spaces with underscores:
{{broadcast|replace:' ':'_' field='campaignname'}}The settings now look as follows:
