The Salesforce integration in Deployteq allows you to synchronize your leads and contacts directly with Deployteq. This enables you, for example, to include your leads and contacts in a leads or customers campaign so that you can inform your contacts about new developments in your organization and current promotions and special offers using an automated process.
You can use a Deployteq campaign to send changes to Salesforce; for example, when a lead or contact changes their details, subscribes to the newsletter, or registers for an event.
In addition, all contact moments in Deployteq can be made available per lead or contact in Salesforce. This enables you to maintain a complete overview of your customers in your CRM system.
Installing in the Deployteq store
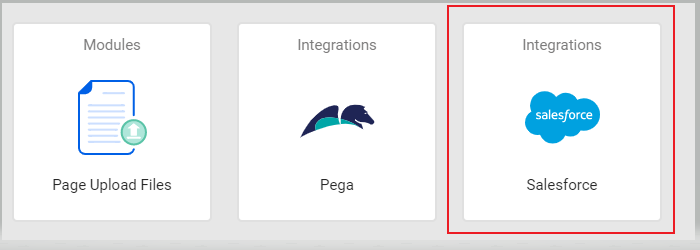
The app for the Salesforce integration is available in the Deployteq Store:
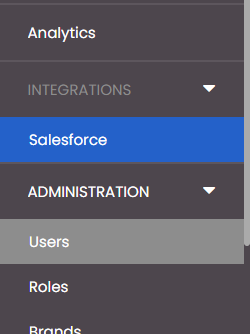
When you select and install this app, an new menu item will be visible under "Integrations" where you can configure the connection with Salesforce.
Salesforce settings
General settings
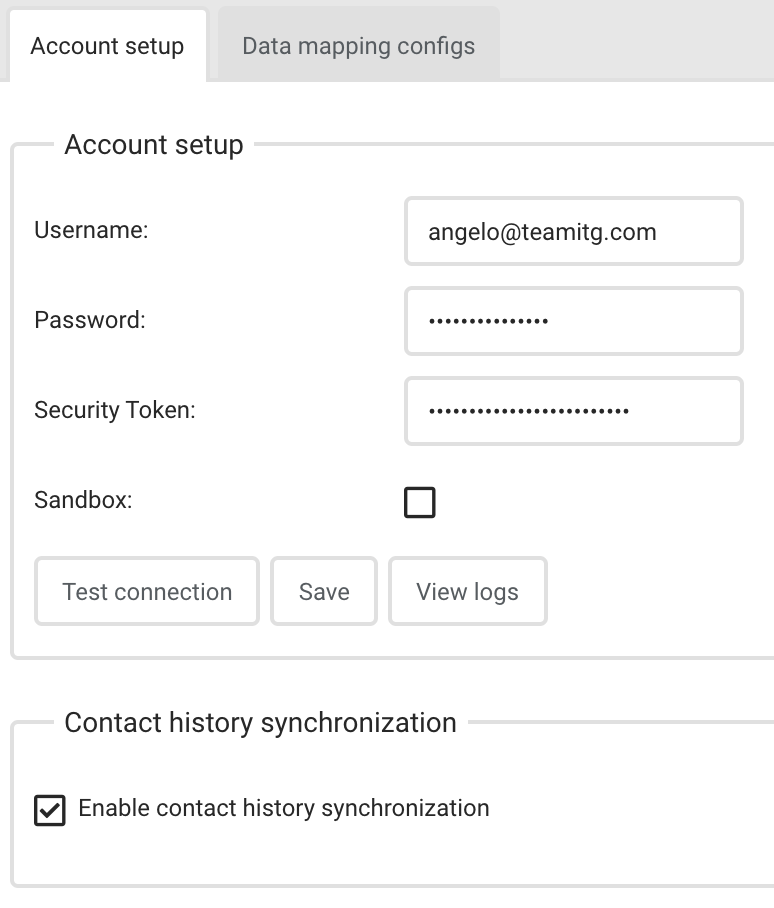
When the app is installed in the Deployteq Store, an additional menu item appears that displays the Salesforce settings. The following settings are needed to set up an API connection with the Salesforce environment:
- Username
- Password API
- Security token
- Sandbox (Yes/No)
Once all the details have been entered, you can test and save the settings right away. Once the data has been saved, new options will become visible such as synchronising contact moments and linking data between Salesforce and Deployteq.
Synchronising contact moments
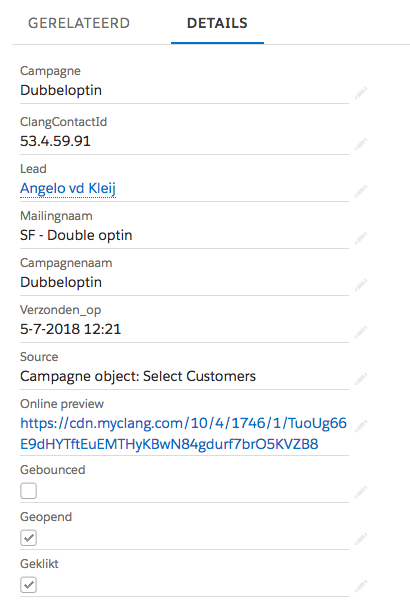
It is possible to synchronise all e-mails sent from Deployteq to Salesforce. This expansion module makes all contact moments at lead and/or contact level visible. Behaviour can also be viewed per e-mail, such as whether the e-mail has been opened, clicked, or bounced, etc. and a link to the online version of the e-mail will be available so that you can view the e-mail contents.
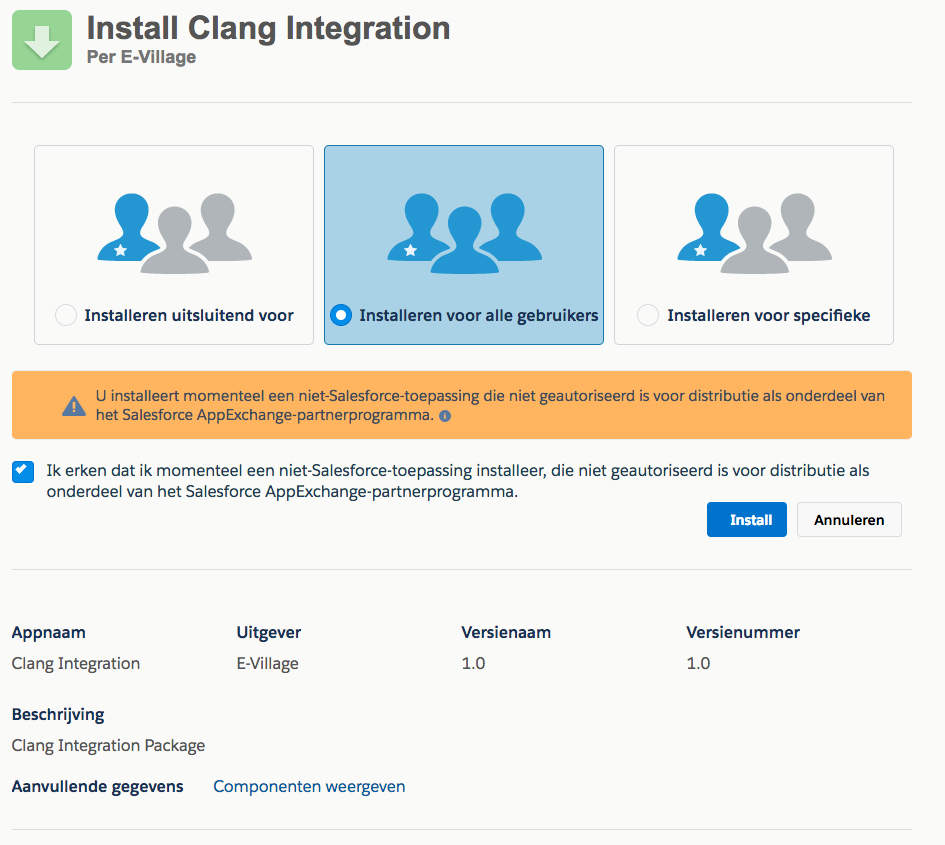
If the option is checked, the next step is to install the Deployteq integration for Salesforce in your environment. To do so, you will need to open the following link in your browser, where the variable <instance> must be replaced with the instance that is shown in the link when logging into Salesforce:
https://[instance].lightning.force.com/packagingSetupUI/ipLanding.app?apvId=04tA0000000M0Mz
When you open the link, you will be guided through the installation process in Salesforce; see the image below:
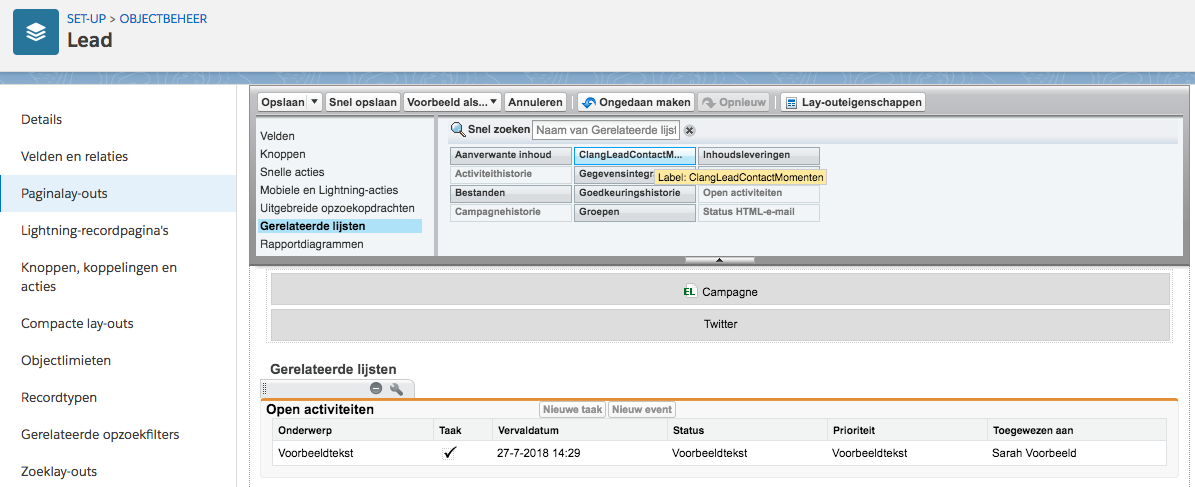
When the integration is installed, the page layout of a lead or contact can be expanded with ‘ClangLeadContactMoment’ or ‘ClangContactContactMoment’ in the Salesforce object management settings:
Object management>>Contact person>>Page layouts
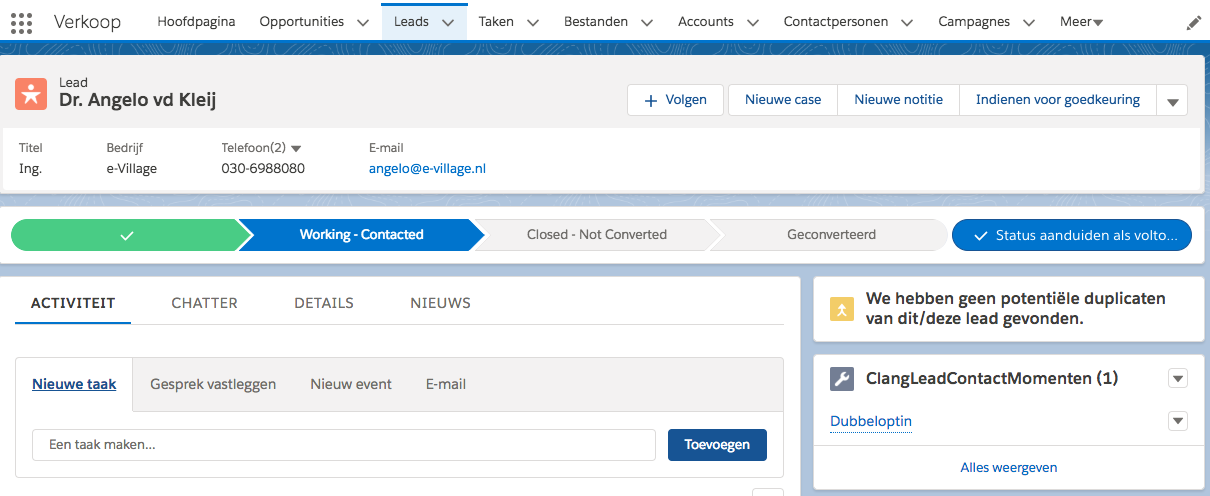
If the page layout has been expanded and saved, the Deployteq contact moments will become visible when opening a lead or contact:
The contact moments can be opened for more detailed information:
Data mapping: Linking a lead and/or contact
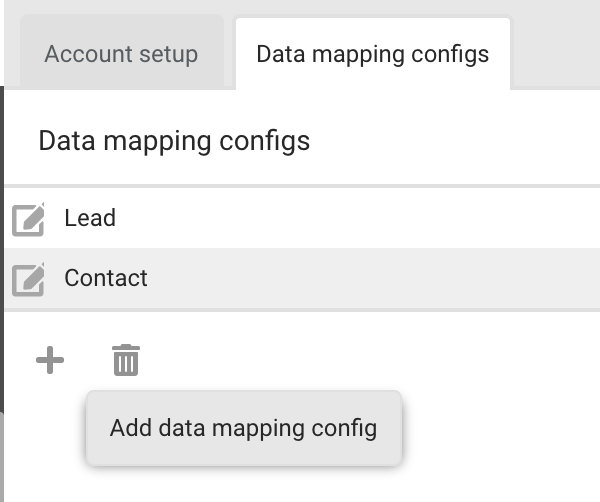
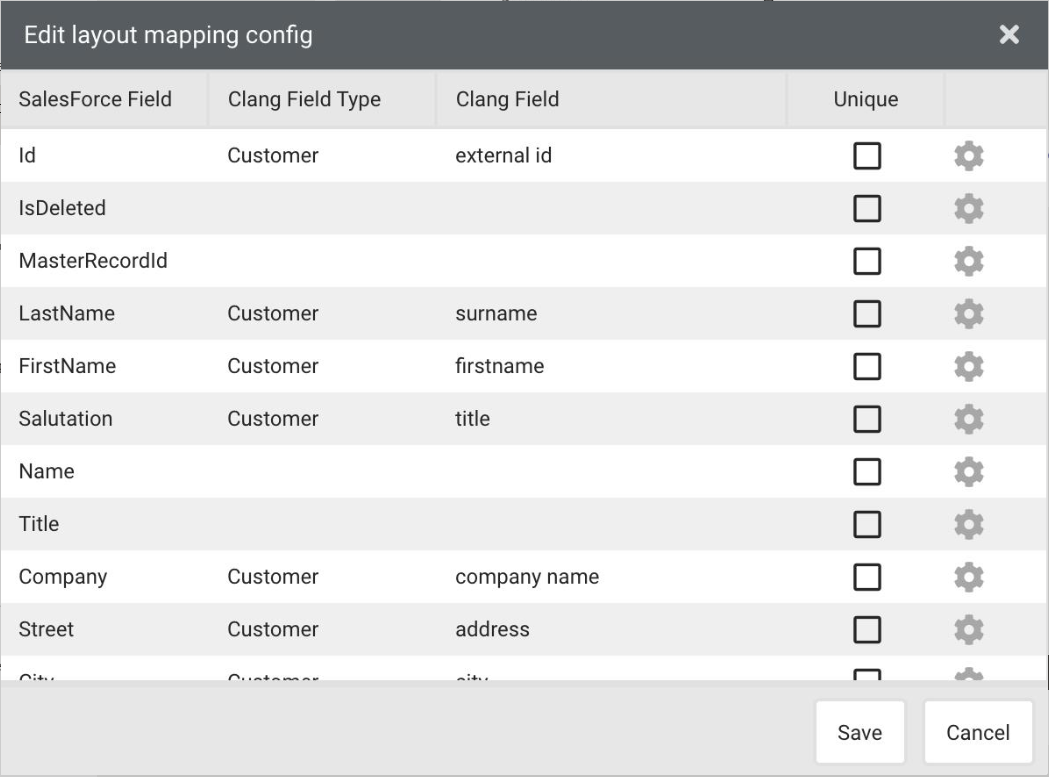
In the 'Data Mapping configs' tab you can specify that data needs to be synchronised from Salesforce to Deployteq for a lead or contact. Click on the plus sign to create a new object. You will then see the next screen where you can link the specific fields to Deployteq.
The first column displays all the available Salesforce fields for a lead or contact. The second column is used to specify the Deployteq field type – either a customer field or a customer option field. Depending on your choice, the third column can be used to choose the customer field or customer option field for saving the Salesforce data. In the last column, you can specify which field makes a customer unique when synchronising to Deployteq:
Data flows
From Salesforce to Deployteq
If a Link is created in Deployteq with a lead and/or contact, then regular checks are performed via the Salesforce API to check whether any new leads or contacts have been added or modified. This occurs once every ten minutes to limit the number of API requests to Salesforce. If a lead and/or contact has been added or modified, the data will be processed in Deployteq. Salesforce takes precedence in this regard, and data that already exists in Deployteq will be overwritten on the basis of the linked fields.
By default, the ‘Status’ field is updated with the value ‘Suspect’ in Deployteq if it concerns a lead in Salesforce and in the case of a contact, this field contains the value ‘Customer’.
From Deployteq to Salesforce
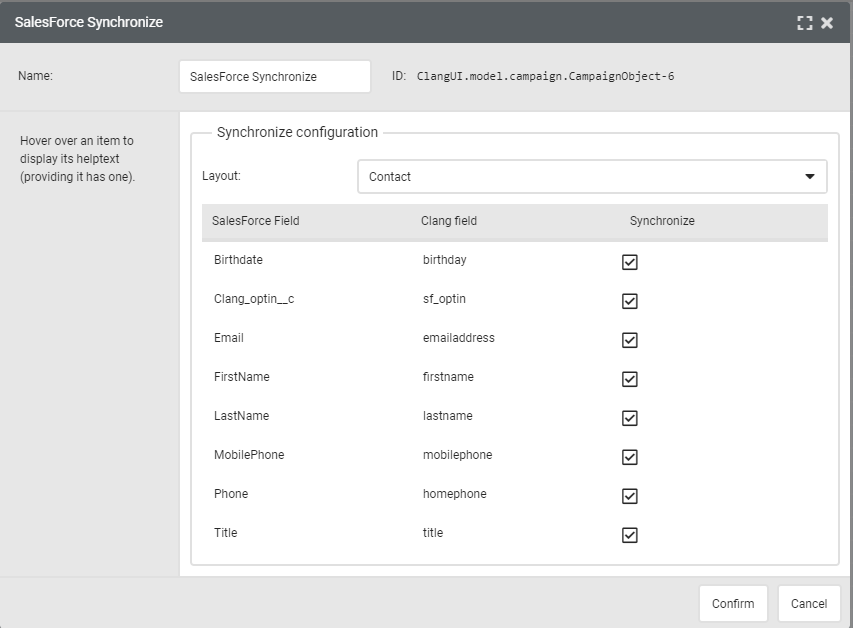
It is possible to send data from Deployteq to Salesforce with the Salesforce Synchronize campaign object. For example, it is possible to forward the modified data to Salesforce in the Deployteq campaign after the customer has updated their data.
You can choose to update a lead or contact in the campaign object and configure which fields should be synchronized. These are the same Salesforce fields that are configured in the brand manager.
The Salesforce Synchronize object has the following outputs:
- Continue
- This output is followed by all Deployteq records that go through this object
- On success
- This output only contains Deployteq records which have successfully been synchronized to Salesforce
- On error
- This output contains all Deployteq records which could not be synchronized to Salesforce
- On limit
- This output contains all Deployteq records which are not synchronized as the API limit was reached in Salesforce for the number of API requests per day.
