Within Deployteq we of course have email and SMS as channels. Through the years we added Facebook Audiences, easy API calls to all platforms and call lists for your call center. All this is nice, but how to reach the customers who have installed your mobile app? Push notifications for mobile apps can now also be integrated in all your marketing automation campaigns. Now you can send out push notifications in bulk, like "the sale has started", but as soon as we know which customer matches with what device we can also send out the personalized messages you are used to from Deployteq. But not only can Deployteq push the messages for your customers, you can also react on the behavior your customer shows in the app. So send Deployteq the email address when a user logs in, so we know the details, send the details of a customer's search in your app, so you can follow up with an informative mail.
Interested? You can now install the app from the Deployteq Store or give us a call!
Installation in the app
For the app we have published two SDKs:
Android SDK
- The SDK can be installed with Jitpack https://jitpack.io/#evillage/evillage-android
- The demo-app can be used as a reference: https://github.com/evillage/evillage-android-demo
- Github: https://github.com/evillage/evillage-android
IOS SDK:
- The SDK can be installed with Cocoapods https://cocoapods.org/pods/ClangNotifications
Github, including demo-app https://github.com/evillage/evillage-ios
For the app developers the instructions are to be found in a readme file and we have made our demo app available as a reference on how to use it.
Within the app you will need to authorize the connection from the app to Deployteq and back. In the SDK you can add an Integration ID and API key. This can be found when you install the Deployteq app in the Deployteq Store.
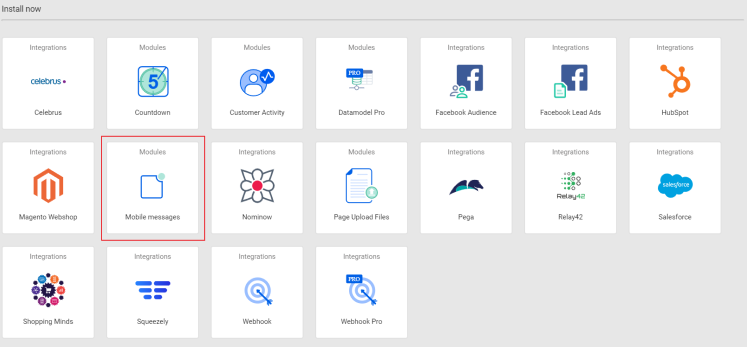
For this go to the Deployteq Store and select Mobile Messages:
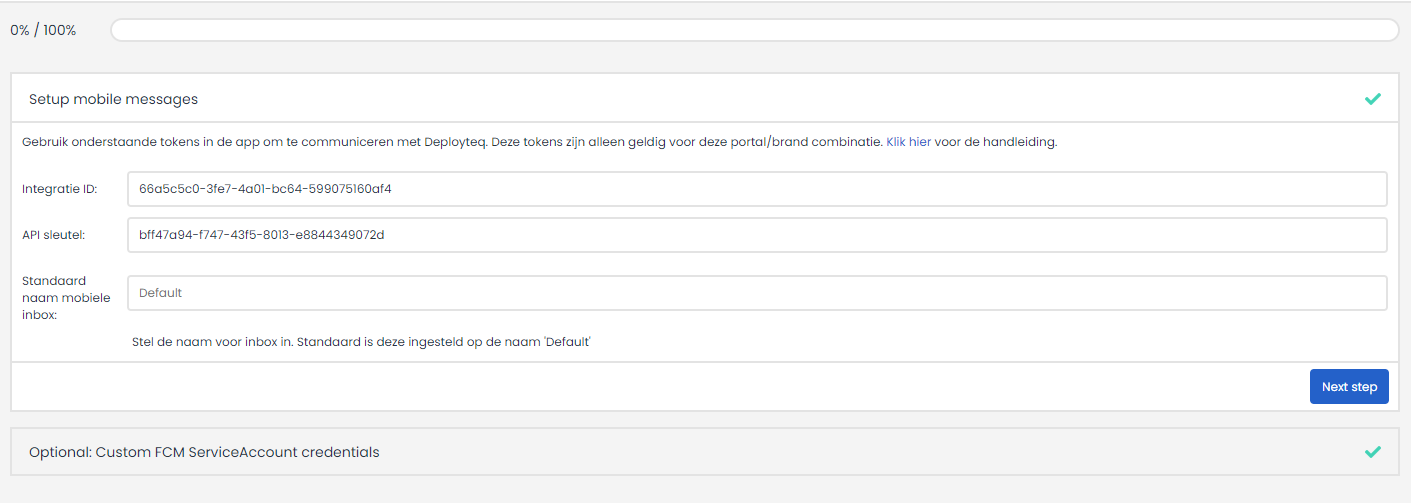
In the first step, you can see the Integration ID and API key you can communicate (in a secure way,) to your app developer.
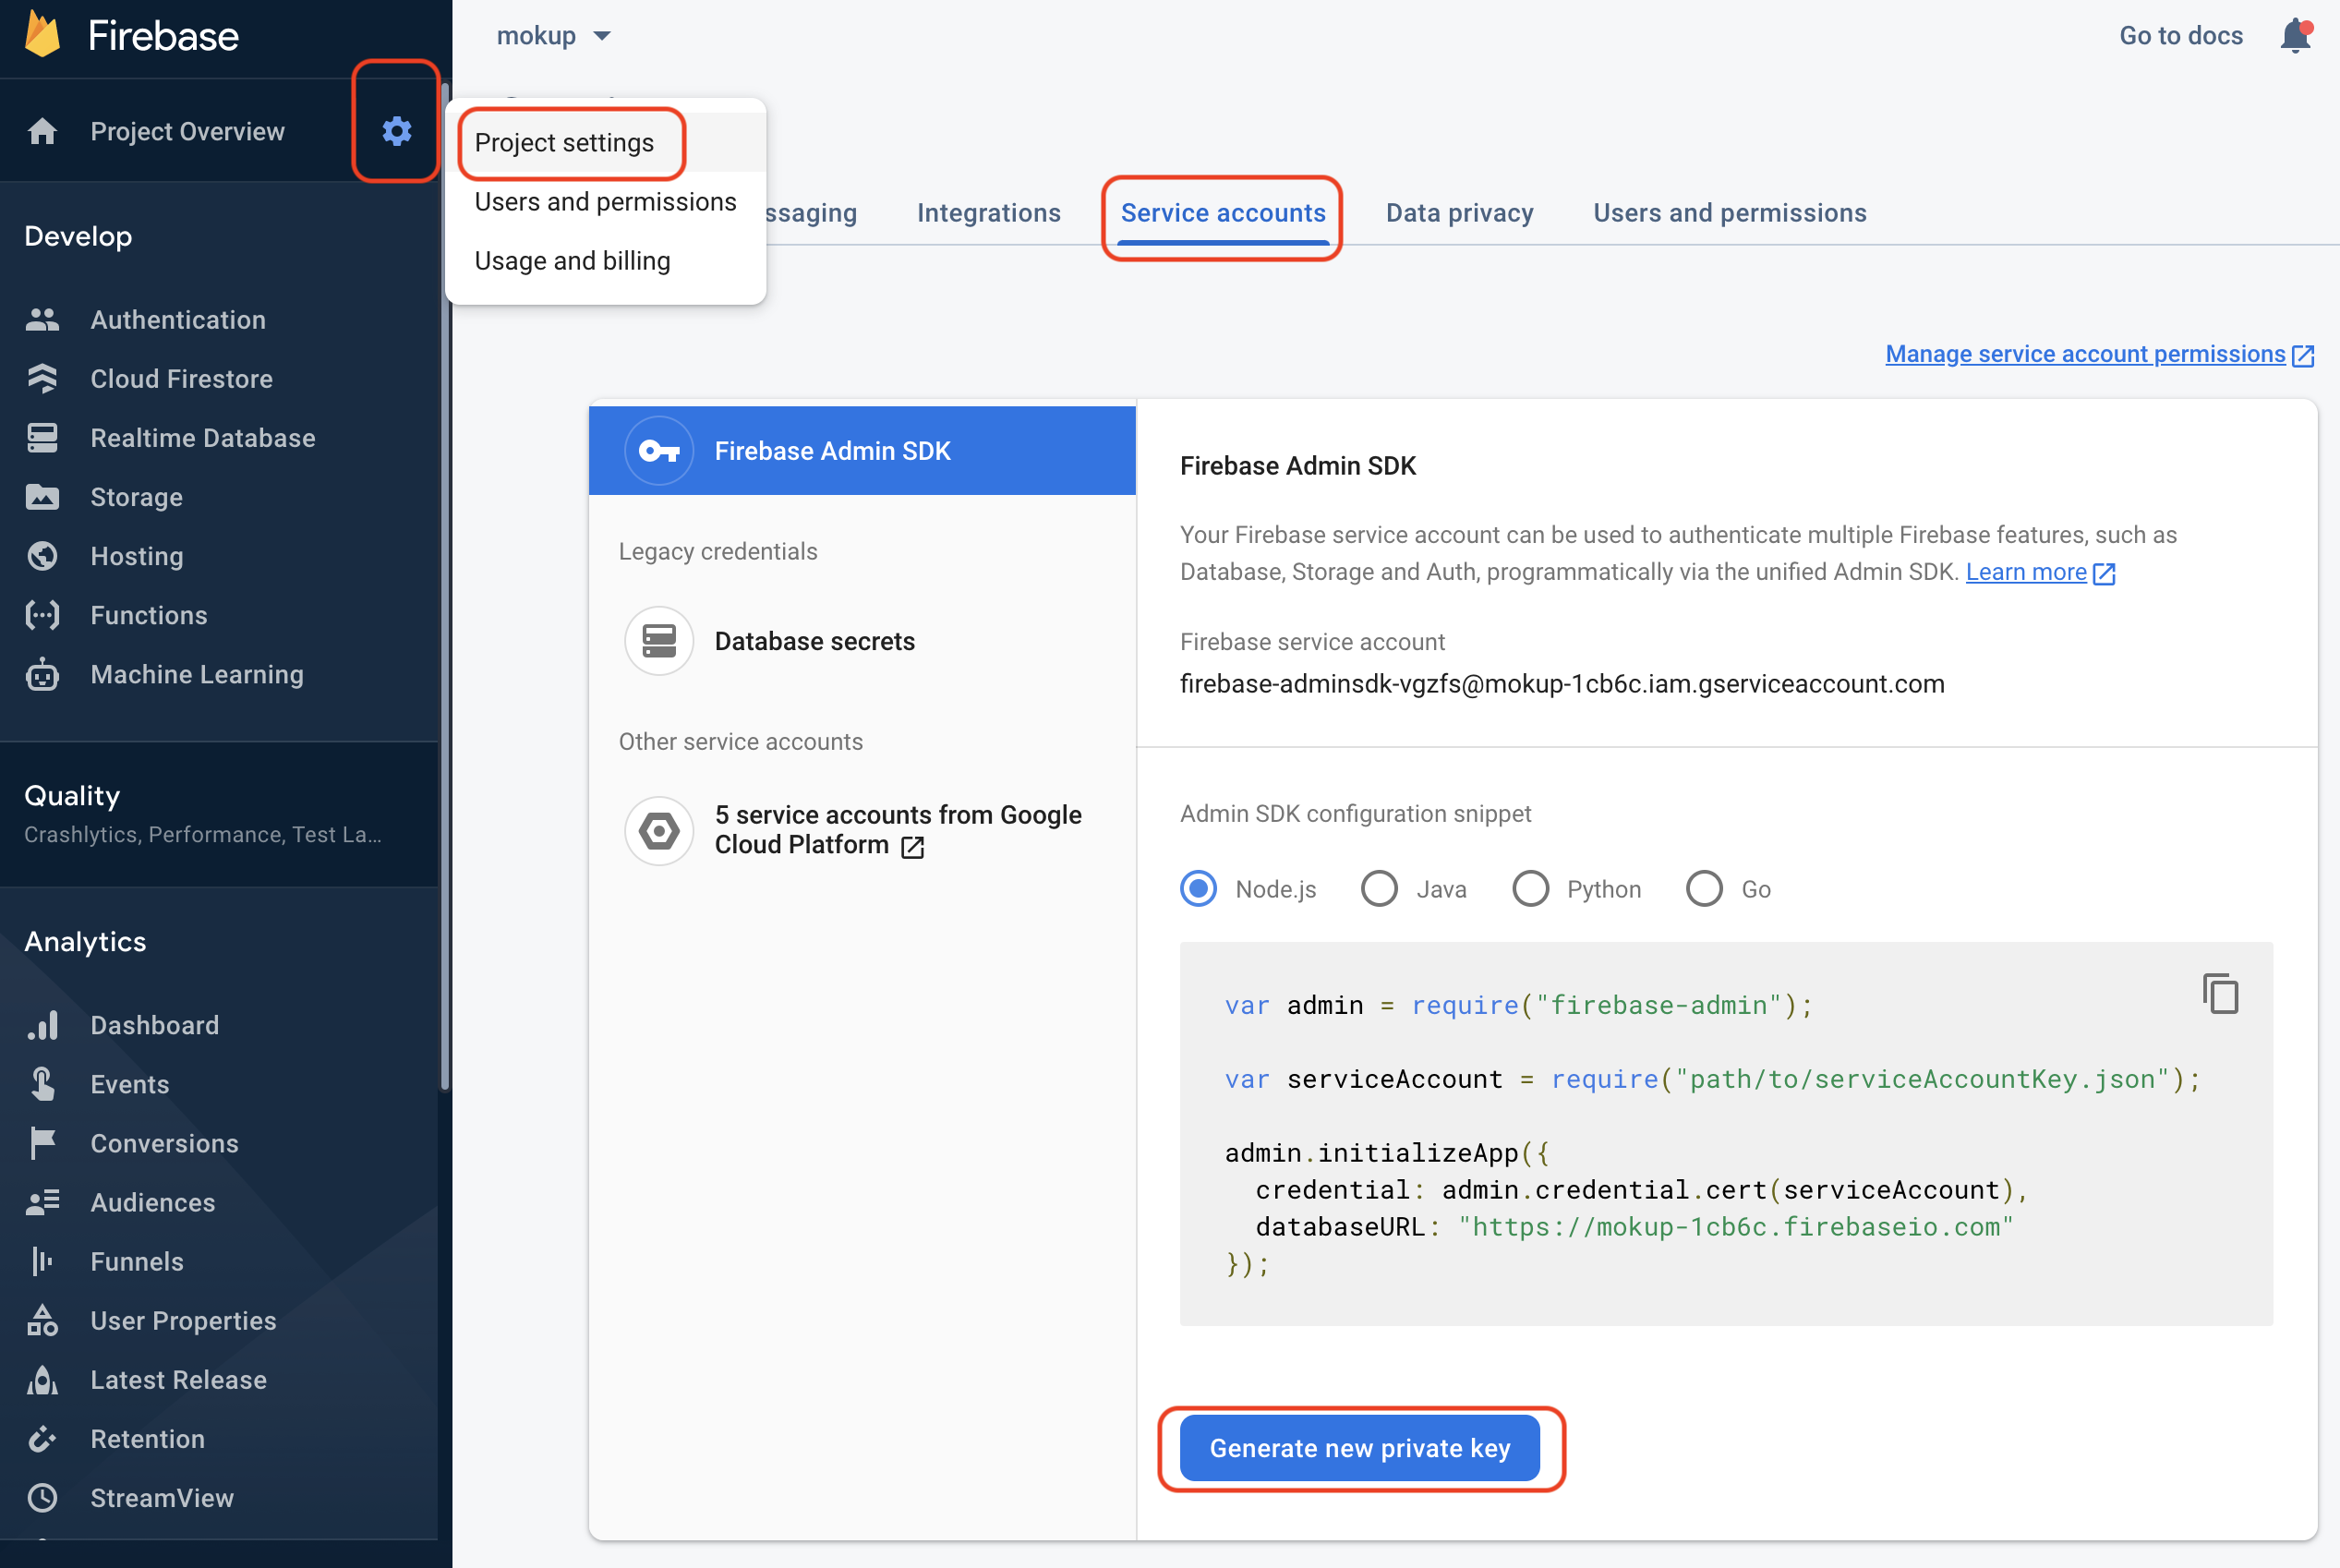
In the second step you can set the connection with your own Firebase environment. By default the Firebase environment of Deployteq will be used to send push notification to IOS and Android devices. If you want to use your own Firebase environment, we need a service-account private key to be installed on our platform. You can retrieve the service-account private key within Firebase;
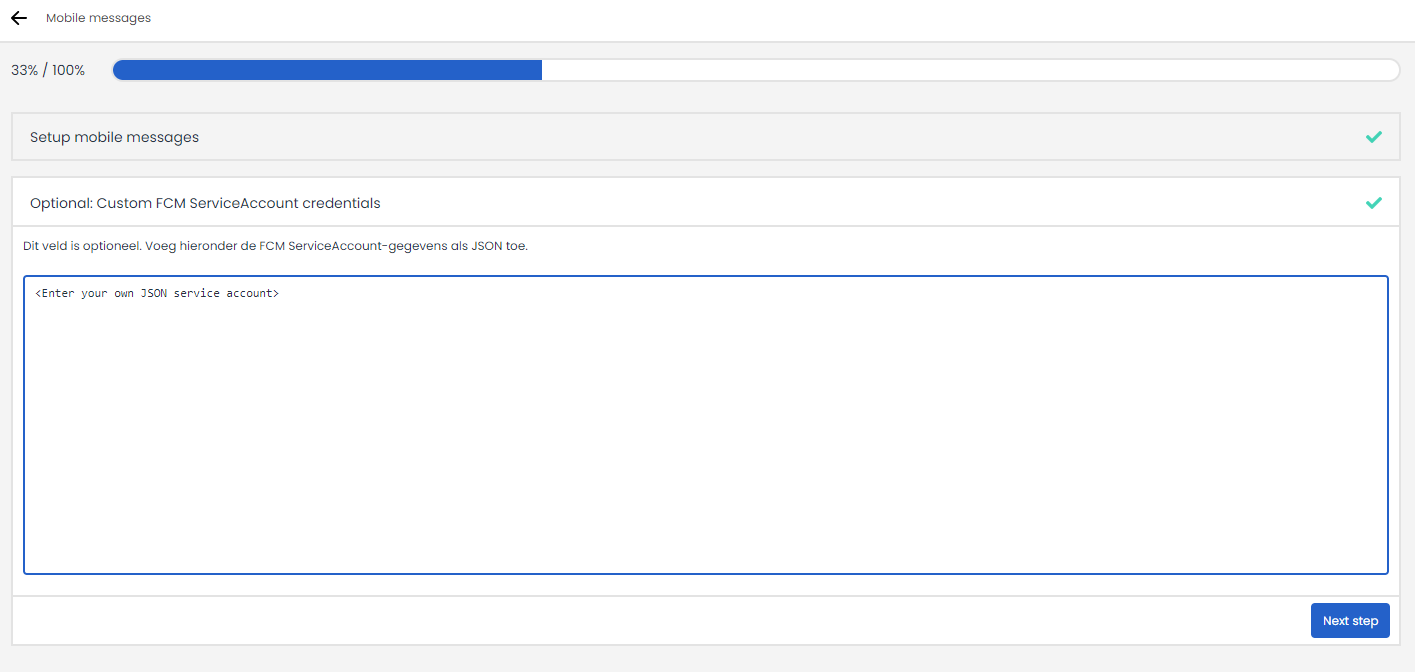
And simply paste this into Deployteq;
In the third step you configure the financial details as usual in our Deployteq Store.
When you've installed the app you are ready to create push notifications and use the campaign-objects to send these.
Creating push messages
When you've installed the app you will have an extra menu item in the Content part. If it's not directly visible, you can refresh your browser to make visible.
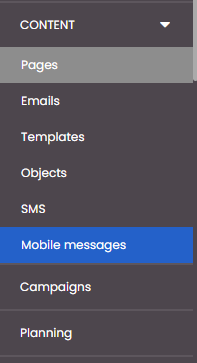
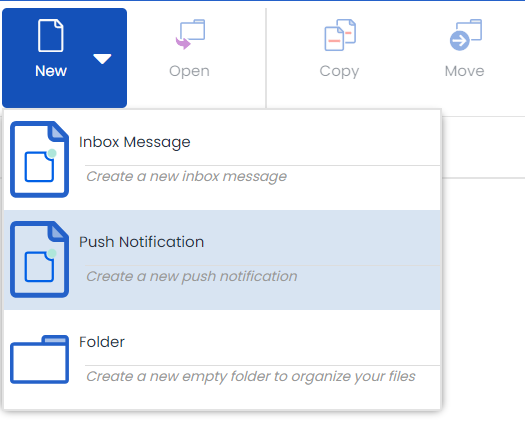
When you select the push notification menu item, you will go to the filemanager where you can create new push messages or edit existing ones. To create new ones, you can click in the upper left corner on 'New' and select 'Push Notification'
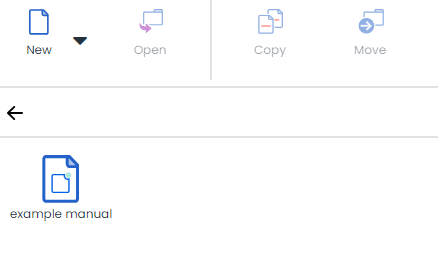
Once you have named the message, you will automatically go to the screen where you can edit the message. The messages you or your colleagues have already created are visible in the file manager.
You can add text to your messages. You can add variable fields, like in all other modules within Deployteq. However you cannot use markup, like bold text or italic, in these texts.
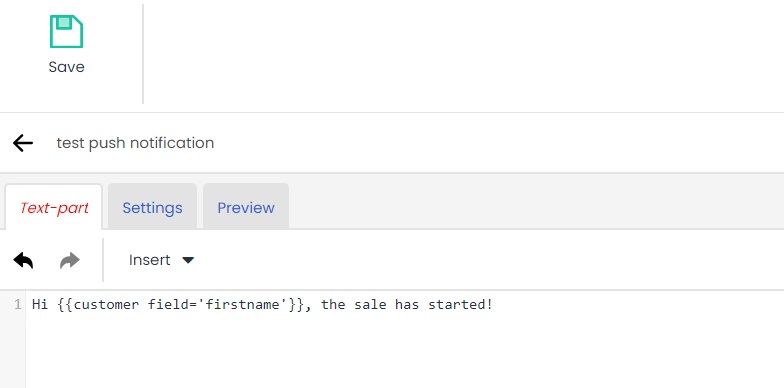
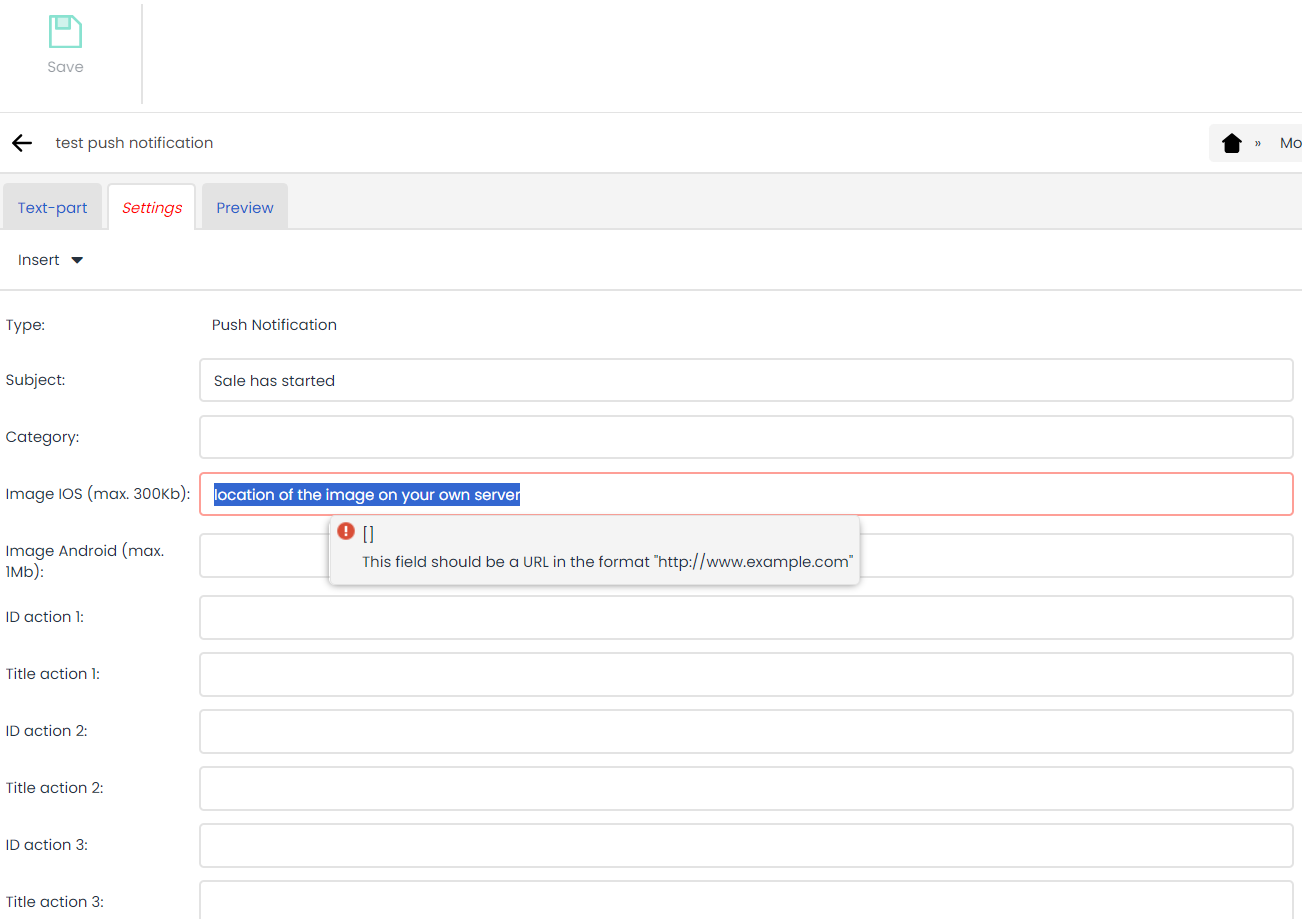
In the settings tab, you can add a subject and if needed up to three action buttons to the message. These buttons will be added to the campaign object as an exit and proceed with the flow from there (with measuring for analytics, links to other pages, saving data, etc). There is also the option to add an image to the message. This must be added in the form of a URL, which links to the image on your own server.
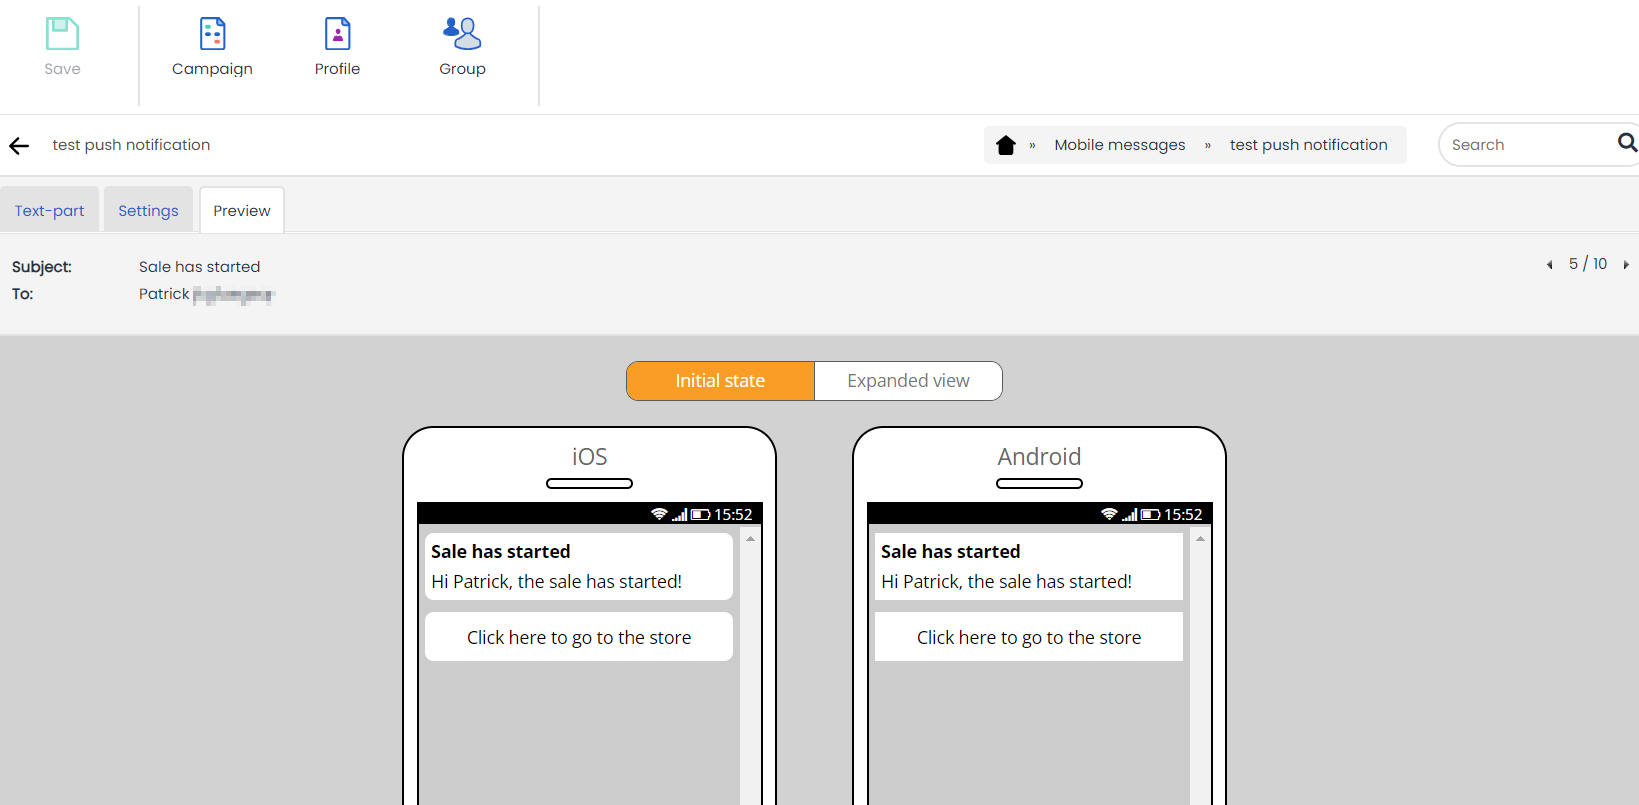
The last tab will give you a preview of the push message, with the different push messages. As with email and SMS, you can test your variables here as well, by searching for a customer
Nice to know;
Keep in mind that different devices will show the push notification differently. It is good to test these for the most used devices for your app.
For Android, you will see the title and for most devices one line in the screen, however with different Android devices there are different interfaces. For iOS, the title will be visible with a maximum of four lines. With the SDK it is possible 'catch' these and show the full message within the app.
Push notifications in Deployteq Campaigns
Within campaigns you will have three new objects;
Send push notification
The first is of course the Send Push notification
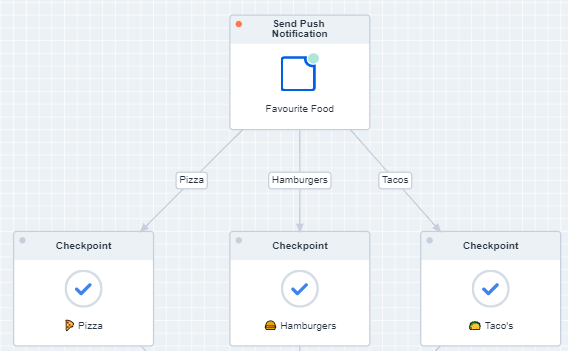
This one is simple, without much to configure. When you drag this object within your campaign you can select the push notification which needs to be send. When an action button is set in the push notification, you will have the names of these buttons as an exit in your campaign object. So when we look at the previous example with the favorite food, you will see the exits with the names Pizza, Hamburgers and Tacos.
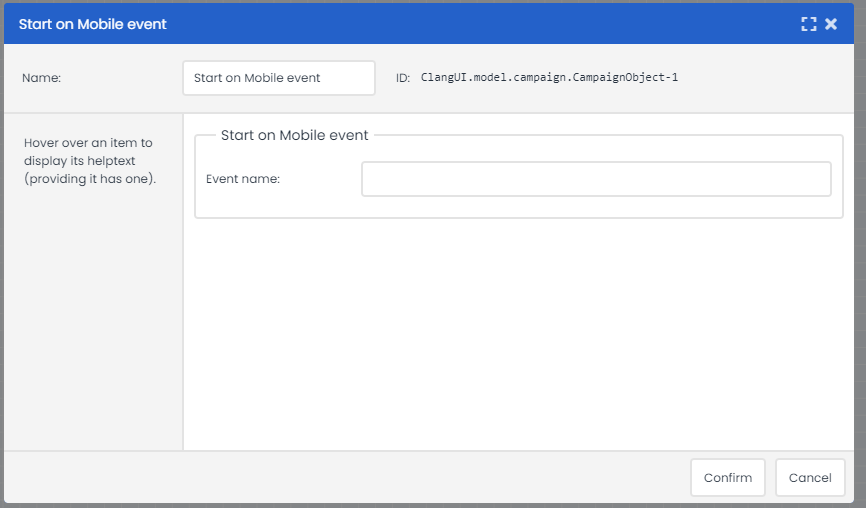
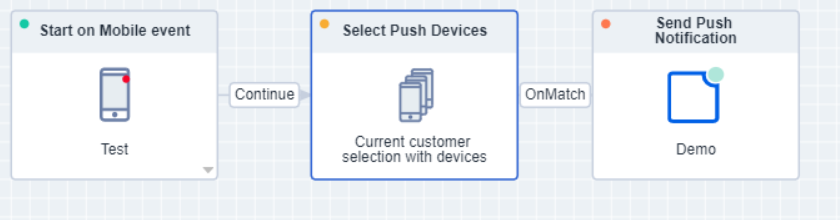
Start on mobile event
With the SDK you can configure events which will send data to the campaign. You can add data as well to use in the campaign, for example with a login of a customer you can send the email address or customerID, so you can match the device with the customer which is already known within the database.
You can add the defined event in the start object.
When this event is triggered once, you will have the fields from the app in your environments automatically. These can be used within the campaign, for example for a customer look-up or an Add-Update customer object:
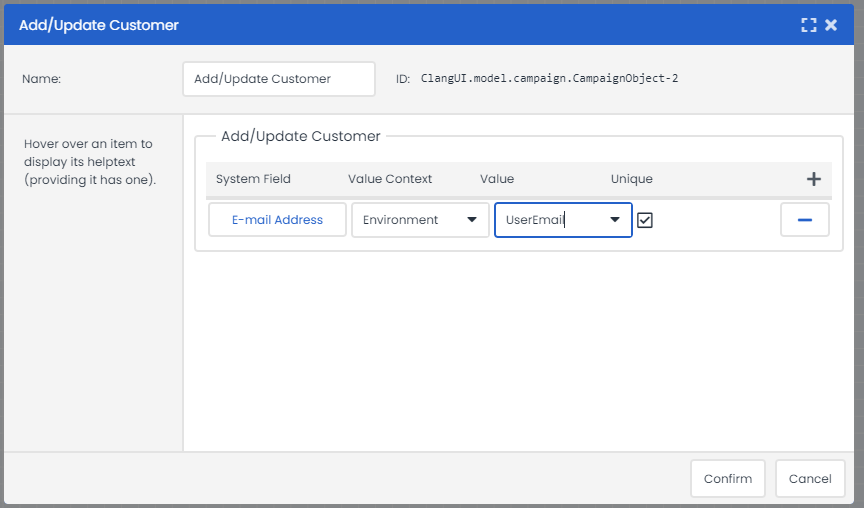
Once you have defined the customer within the campaign, you can use the customer fields which you already have in the database, like a name, or a customer option.
Select devices
If you want to send out your push message to multiple customers, you can use the Select devices.
You can match the fields within the database, with the fields Deployteq has received about the device, like the email in the previous example
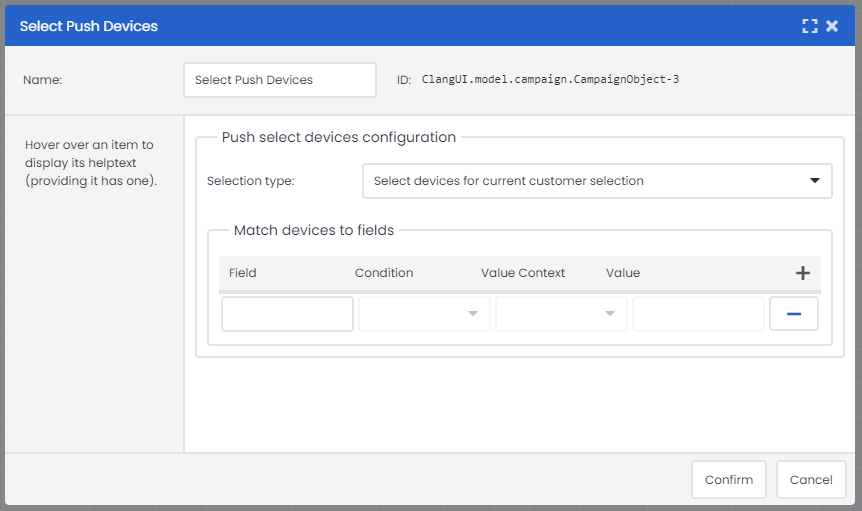
And send out the push notification in bulk
Using push and Deployteq analytics
For push notifications, we do not have automatic analyses or reports. However, since push notifications are sent with campaigns, we can make optimal use of Campaign Checkpoints for this.
The push object has two outputs: OnOpen and OnClick. You can place the checkpoints behind the sending of a push notification in the flow, as shown in this example:
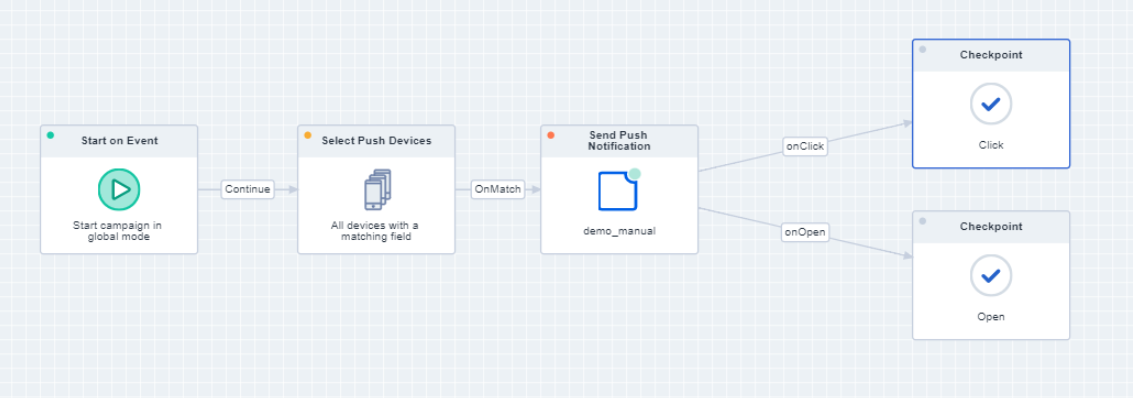
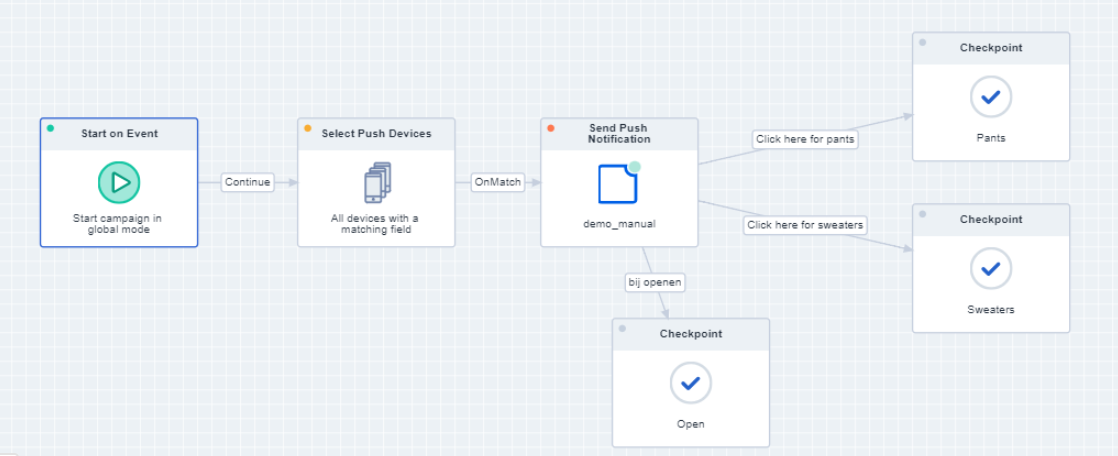
Within the clicks, you can also measure which specific button was clicked, in case there are multiple buttons:
To be able to register the opens and clicks, a specific event needs to be reported back to Deployteq from the app. The section below explains what is required for this.
In an Analytics dashboard, you can select these checkpoints and display the results of how many push notifications you sent, how many were opened, and how many people clicked on a specific button.
Registering Opens and Clicks
To register opens and clicks in a push notification, fixed logEvents have been set up to send this information from the relevant app to us. This makes it possible to set up Analytics dashboards for push campaigns.
Below is an explanation for each event name:
- interaction.open
- This is the event name for registering an open.
- Required data:
notificationId, this encoded string is in the sent push notification.
- interaction.click
- This is the event name for registering a click in the case of action buttons in the push notification.
- Required data:
notificationId, this encoded string is in the sent push notification.
- Additional data:
actionIdof the button, so the click can be related to a specific deeplink/button in the push notification.
Examples
It is possible to send a logEvent for each event (name) individually or bundle them together, separated by commas, from the same message. See the examples below:
Frequently asked questions
Can I use push messaging for web?
No, at the moment we've built our SDK's only for native apps on iOS and Android
I have an app, but have not built native, can I use this module as well?
You cannot use the SDK, but there are API's available to setup the integration. See the documentation for more information:
https://documenter.getpostman.com/view/6603240/Tzz5sdUS
Configuration of feedback loop
Within the SDK, you can determine which events you want to send back, but also what device information you want to save. Here's what you need to know.
Events
You can determine on which event in the app you want to react on. This can be the reaching of a certain page, a login action or an order. Within Deployteq you can start a campaign on this, but make sure you can identify the customer on the data you send in and make the next steps in your campaigns, for example
- userEmail
- userName
- dateLogin
The variables will be available in your campaign as soon as the first event has come trough. At this stage in the development, you need to configure this with your app developer and know the event names they've given. You can manually add this to the start object.
Device data
For the device data, it is also important that you register data where you can match the device data in Deployteq with customers. This way you can select the customers who have a device with a certain field, so userEmail for the device = email address in Deployteq. This is something you can again discuss with your app developer. This gives you the freedom to add your own fields that you need in your campaigns.