A page is based on a page template. To help you get started, we have made a ‘Default Page Template’ available for you. There are several things that you can change in this template. You could change its design, for example, by using a CSS sheet containing the coding for your website’s design. The template is made using the Bootstrap framework. If your website is also based on this framework, you can add your CSS location to the template, which automatically ensures that the template is completely tailored to your corporate style. You also have the option, of course, of making a template yourself. The default template has many options to make it workable for everyone, but we can understand that you might prefer to have a simpler template. You could build one or have it built for you using the information in this manual. If you require assistance when building your own template, please let us know by calling +31 (0)30 - 698 8080.
Creating the template body
Templates are based on a basic template format in which objects are placed to provide the content. These objects are placed in 'zones', and you can configure where certain objects are allowed to be placed in each zone. For example, you could ensure that configuration objects, such as styling objects, are only allowed at the top of the config zone, that header objects are only allowed in the upper zone, and that footer objects are only allowed in the last zone. In this way, you can force your colleagues to use a specific format so that the same webpages are always made, regardless of who creates them. When building a template, you can always refer to the ‘Default Pages Template’ to see how certain elements have been created within it.
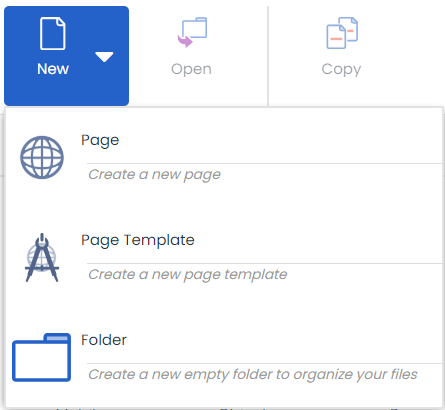
To start building your template, go to Pages and click on ‘New’ > ‘Page template’ in the top left.
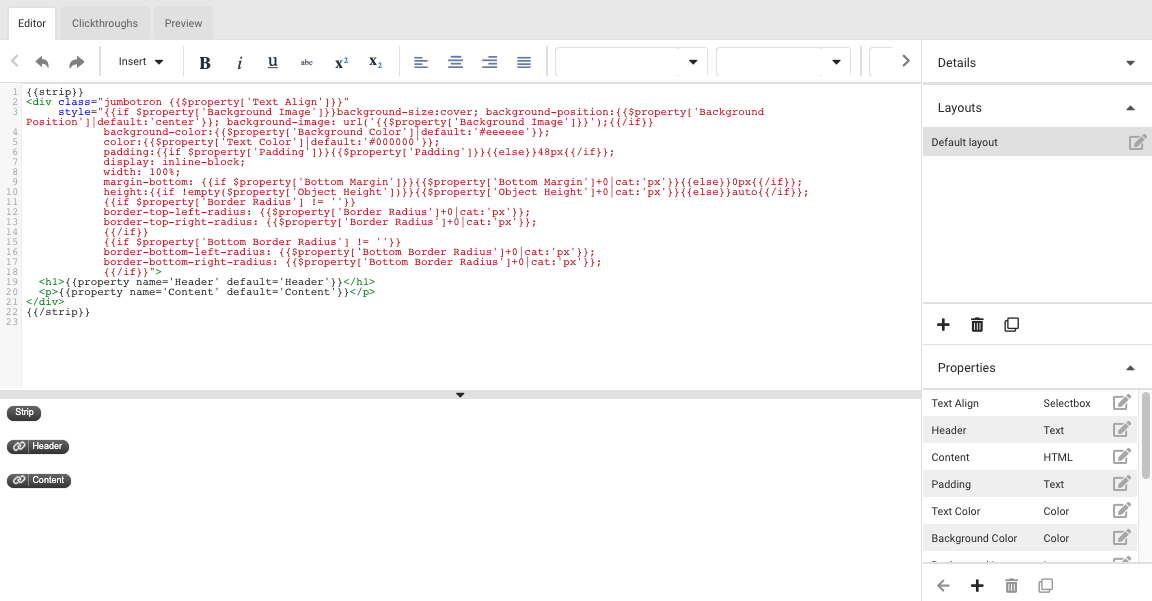
The following HTML screen will appear:
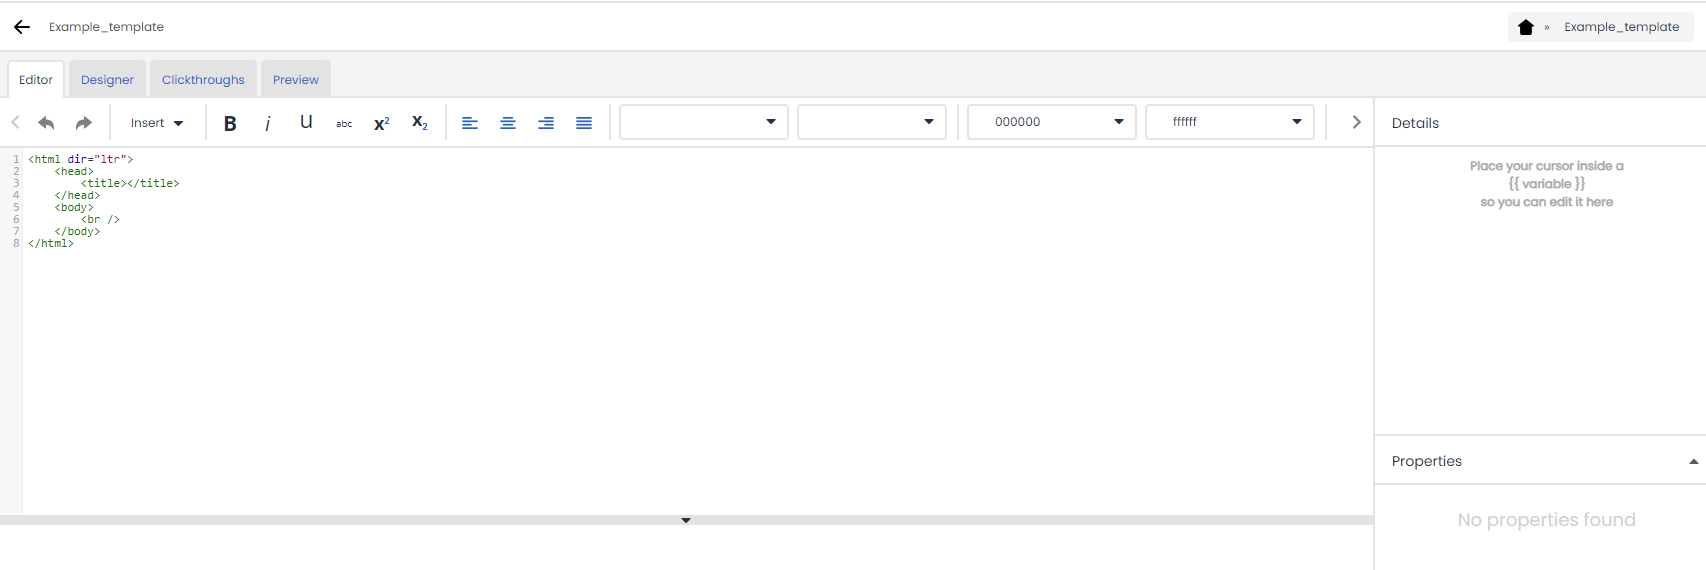
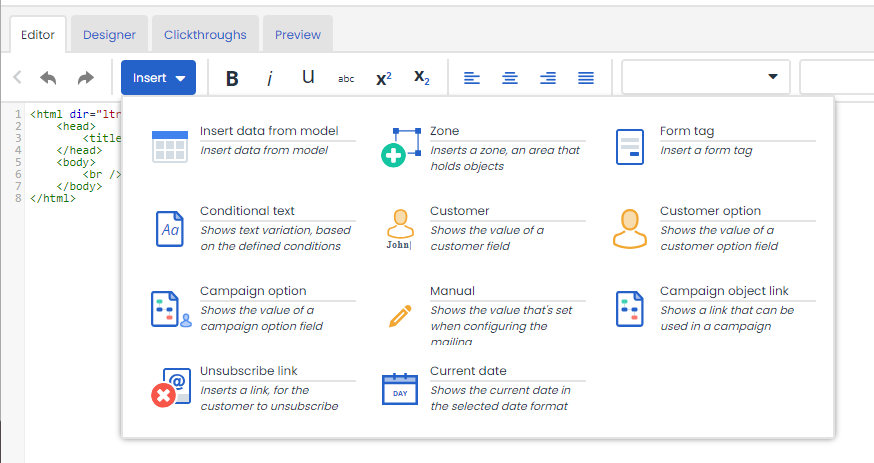
This forms the basis for your template where you can add your own styling and framework. Place your cursor at a particular place in the template and use the ‘Insert’ button to add variables. You can also add zones in which your objects will later be inserted. If you do not want to use objects but have HTML code ready that defines your complete page, you can also paste it here. If it contains form elements, make sure that you replace them with the Deployteq form elements using the ‘Insert’ button. This ensures that these elements are saved correctly in the right Deployteq fields.
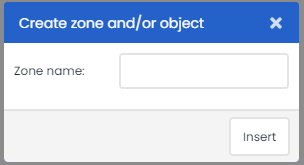
When adding a zone, give it a clear name to make it much easier to allocate objects to it later.
A Smarty code will be inserted in your HTML to designate the zone {{zone name='Header'}}. If you click in it with your cursor, you will see a list of objects on the right-hand side that you have already created or which have been created globally and which can therefore be used in other templates. Check those objects that you want to add to the permitted objects for that zone. A piece of extra code will then be inserted in your zone {{zone name='Header' allowed_layouts='XXXX[*]'}}. Several objects are possible here and they will be added, separated by commas.
The result is as follows:
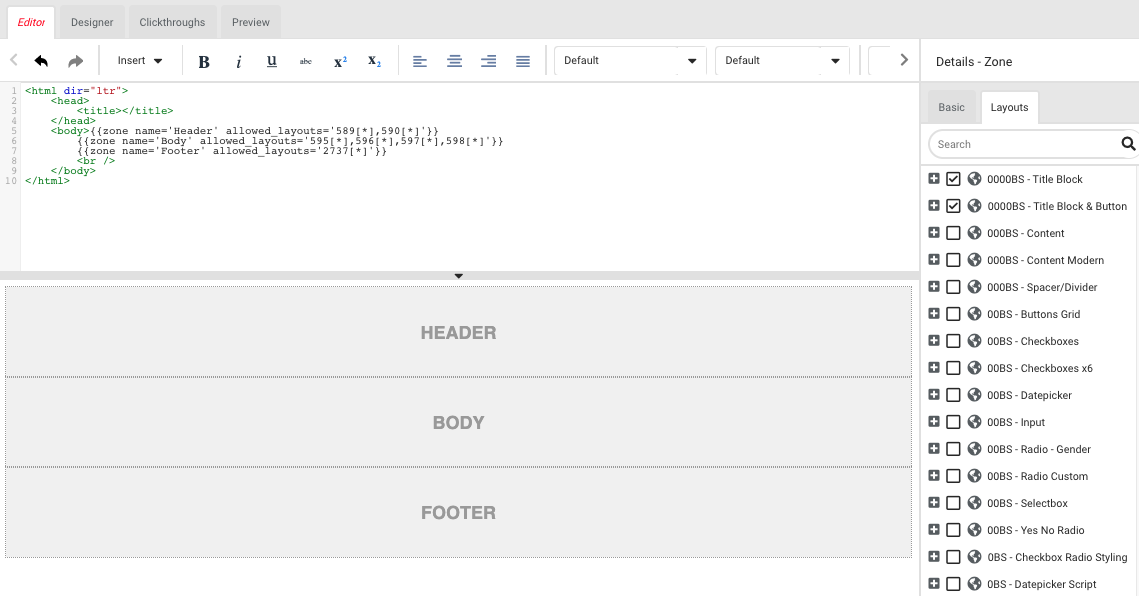
At the bottom of your screen you will see an example of your template. If, for example, you click on a zone, you will immediately be taken to the piece of code that displays the zone. This makes it easy to go to a specific section of code, even if you have a large amount of code for your template design.
When you are satisfied with the basis for your template, you can add new objects so that everyone can create a page later without having to see any HTML code.
Creating objects
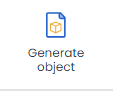
Now that you have your template base, you will create objects that can be dragged into the zones. The first option you have to create objects is to click on ‘Generate object’ at the top of the HTML designer. However, this will also automatically create a zone.
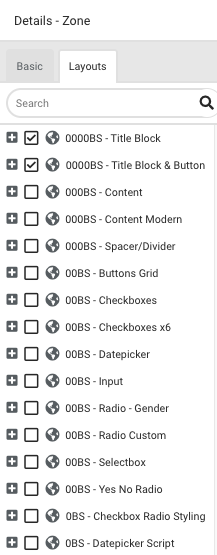
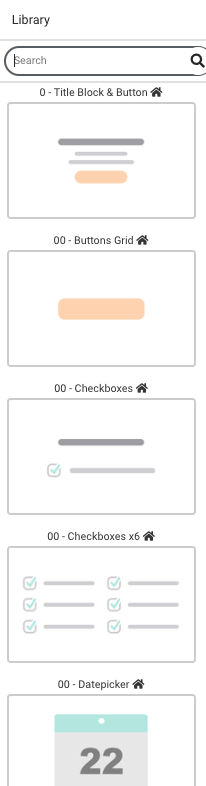
If you only want to create a new object, position your cursor in the zone again. On the right-hand side, you will see the library of objects for your template under the ‘Layouts’ tab. Under the library you will see a plus (+) sign. Click on this sign to bring up a pop-up window in which you can create a new object. Give the object a unique name. With the default template, we placed zeros in front of the names of objects so that they are displayed in a clear arrangement. You can use any prefix you want to arrange the objects in a logical order. The objects will appear in the library in alphabetical order. You could also use prefixes such as header -, content -, and form - to keep elements together.
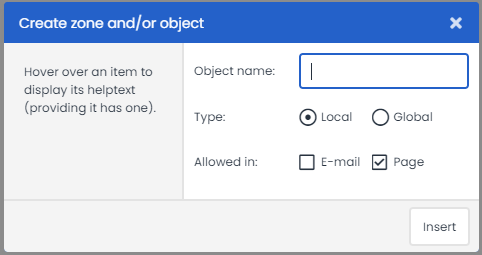
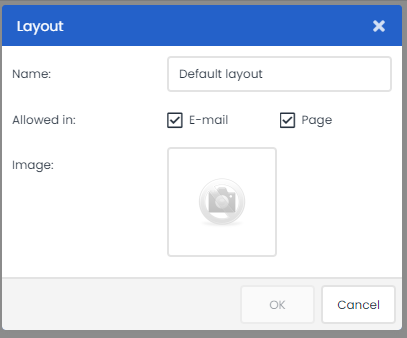
There are also several choices you can make when creating a specific object. For instance, you can save an object locally or globally. ‘Local’ means that the object is only available for this template. If you want an object to be available for multiple templates, select ‘Global’. You may choose this, for instance, if you have a variety of stylings over different templates and want the object to adapt to them. You would only have to modify the object once for changes to be directly implemented in all templates.
Finally, you can also specify whether an object should be available for e-mails and/or pages. If you know that an object will also look good in an e-mail, you can make it globally available for an e-mail template. It is often used the other way around, since e-mail HTML is considerably different from web HTML.
Your object has now been added to the library. Double-click on it to go to the HTML for this object. Here you can add your HTML for just this part of the template.
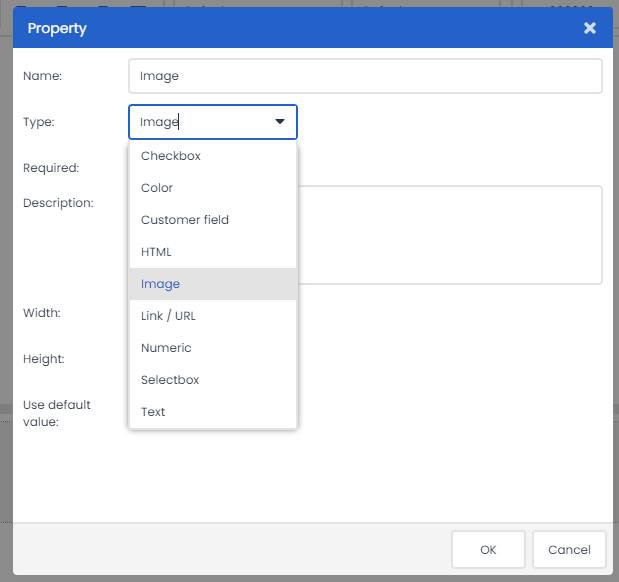
One option is to have the Marketing department complete some of the elements. To do so, you will need to add properties to the object, which you do by clicking on the plus (+) sign at the bottom left. Here you can enter the name of the property, its type, whether it is mandatory to enter a value, a description of what needs to be entered, and, if preferred, a default value to use if nothing is entered. For example, you could insert a placeholder if an image is not entered so that you can see what it would look like with an image.
If you have chosen to add a description, a tool tip will appear next to the input field. This enables you to add instructions to your template to ensure that it is always filled in correctly and therefore looks attractive.
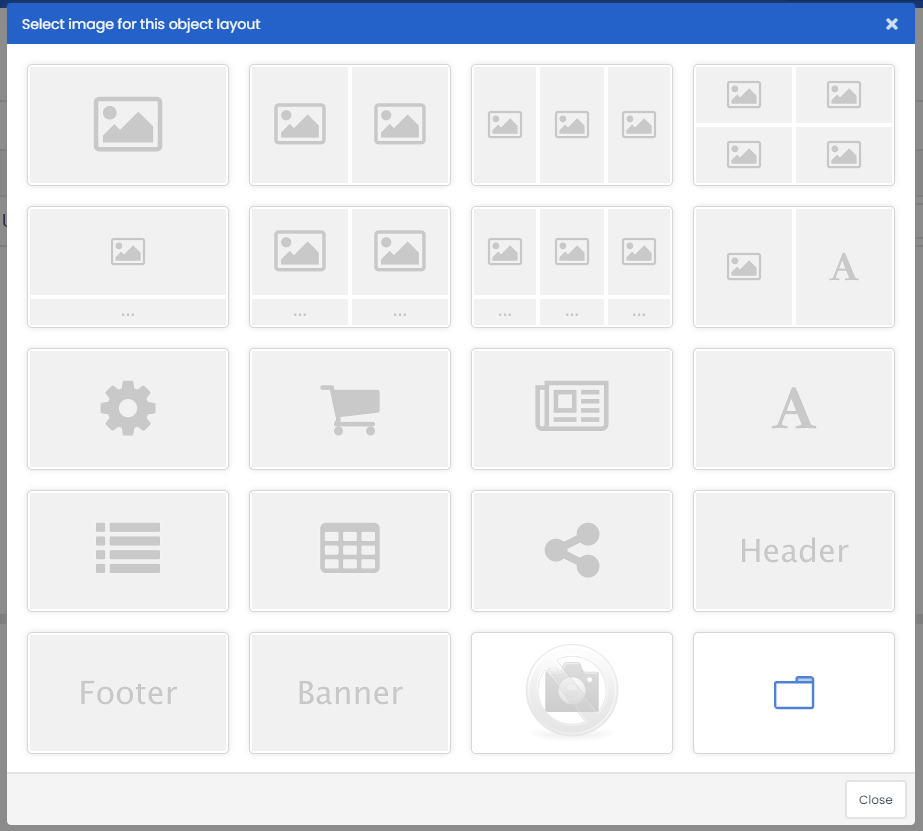
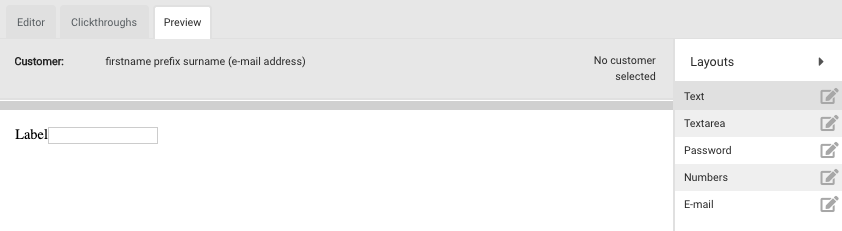
If an object is similar to the properties to be entered but has a slightly different design, you could also create layouts. When you drag and drop an object, a pop-up window appears showing the different options, e.g. a text with an image to the left or the right. The properties are the same but the design is slightly different. We also have several layouts for the input field in the ‘Default Page Template’ as the keyboard on mobile devices is different for an e-mail input field than a number input field. Otherwise, it looks exactly the same.

Within the layout, you can also add an image as a thumbnail of your object. Others will then know what to expect when the object is dragged and dropped. And it also makes it look more attractive, doesn’t it?
Under the ‘Example’ tab, you can see the results of the object and the different layouts. Of course, this does not show the template with all its formatting but just this object without additional styling.
Prefilling default objects
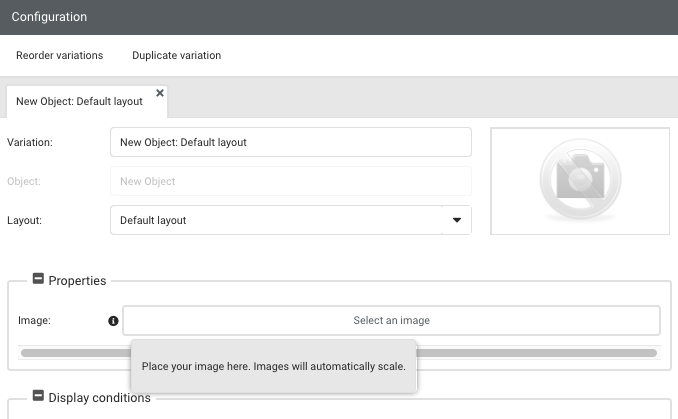
When you create a page based on the template, you could ensure that a number of objects are already configured, such as configuration objects and footers that do not generally change much. To do this, we go to the ‘Designer’ tab.
Here you can drag a number of objects to the correct place and fill in the properties. When you then create a page based on this template, it will already include these objects and their configurations. This can also be done if you often use several variations, such as different languages. Of course, these can also be modified per page but it can save you a lot of time if these are already configured as default.