There are several types of properties. Each property indicates what type of data it needs. You don’t always have to enter all the properties for this template. In this chapter, we discuss the types of properties there are and how they can be used.

Checkbox property
This checkbox can be used, for example, to determine whether something should be turned on or off.

Colour property
This property is used to select the correct colour from a colour wheel.

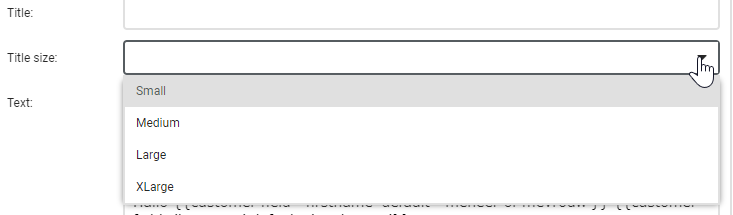
Text property
This property contains text without any styling that can be added. The text will adopt the styling that is defined in the HTML. In this example, we use a text property to fill in the title of an article.

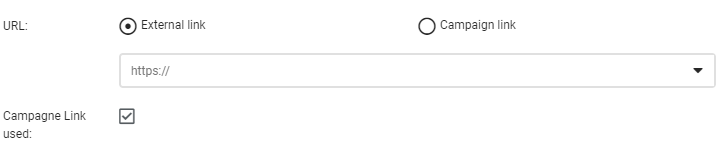
Link property
The link property is used to fill in links. You can choose between an ‘External link’ and a ‘Campaign link’. An external link could be a link to another webpage for instance. Always start it with https://. With a campaign link, you can select a campaign and then an object within that campaign, such as a ‘start on event’. In this way, you can send your customers directly into a campaign to complete a form or to be added to a group.
HTML property
An HTML property is a property with a text editor. This provides features for styling text and you can also add textual links. When you add plain text, it will take on the style of your e-mail. Take care when adding other fonts to ensure that you can guarantee the style of the e-mail.

Image property
The image property is used to add images. When you click on ‘Select an image’, the file manager will open from where you can upload and then add an image.
![]()
Please remember that all images have a fixed pre-defined width. This is so that they are clearly visible on various devices, including mobile devices. The height of the images is not fixed. Choose an image in the file manager and click on ‘Select’ at the bottom right or double-click on the image. In the next screen you can still crop the image or change its size. Nevertheless, it is better to do this in programs such as Photoshop.
In order to keep Deployteq well organized, make sure that you always upload the images of a mailing in the relevant folder where the mailing was also created. This also makes it easier to retrieve images. If you have a number of standard header images, for example, you could also create a separate images folder where you keep images in various sizes so that you always have an image available.
Press ‘Save’ to add the image and you will see the chosen image appear:

Selection list property
This property contains a list of possible choices. Every option has its own property.
Numeric property
Here you can increase or decrease the value, either by using the arrow, or by typing the value in manually. You can choose values with or without decimal places.
